Attendance Settings
How do I enable or disable attendance for my property?
Attendance settings let you track daily attendance for your property and decide how it should be marked. You can control who attendance applies to and set the time window for marking attendance. These settings can be updated anytime based on your property’s requirements.
Here’s how you can manage it:
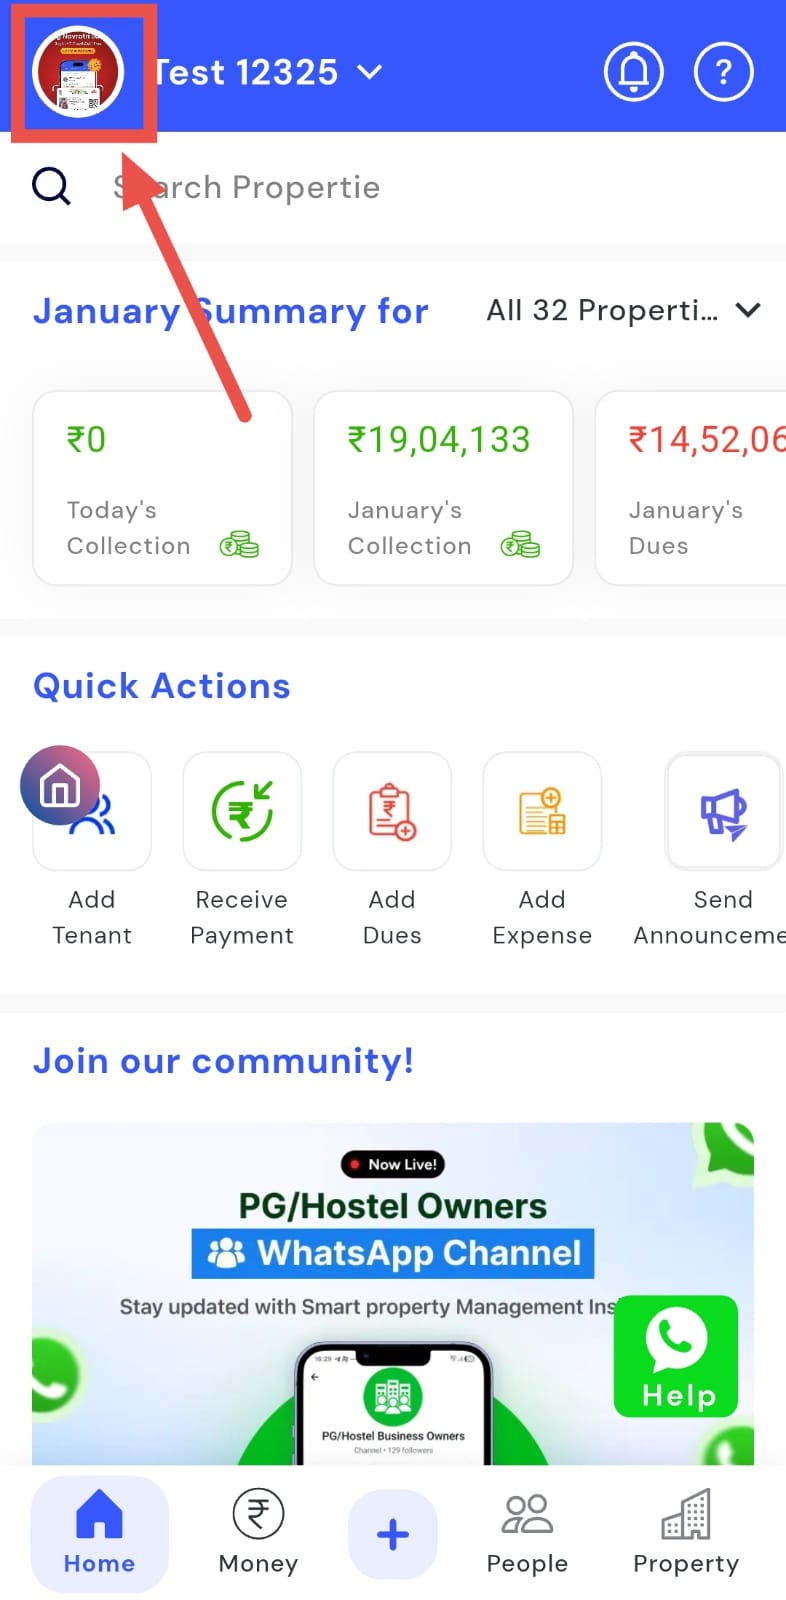
- Step 1: Open your profile Tap on your profile picture in the top-left corner of the screen to open Settings.
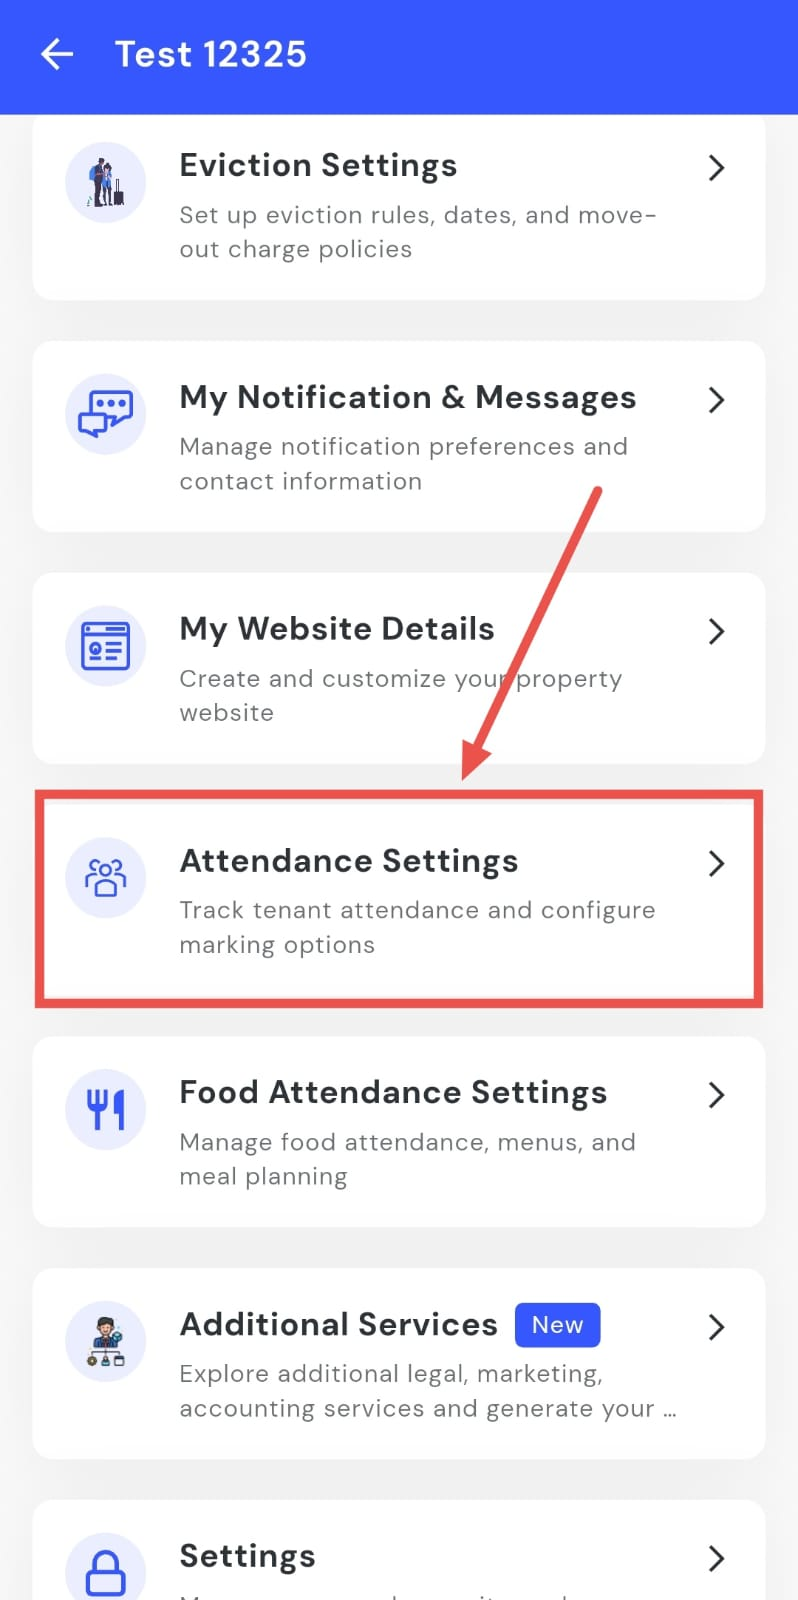
- Step 2: Open Attendance Settings Scroll down on the screen and tap Attendance Settings to continue.
- Step 3: Edit attendance rules On this screen, go to the Attendance Rules section and tap Edit to make changes.
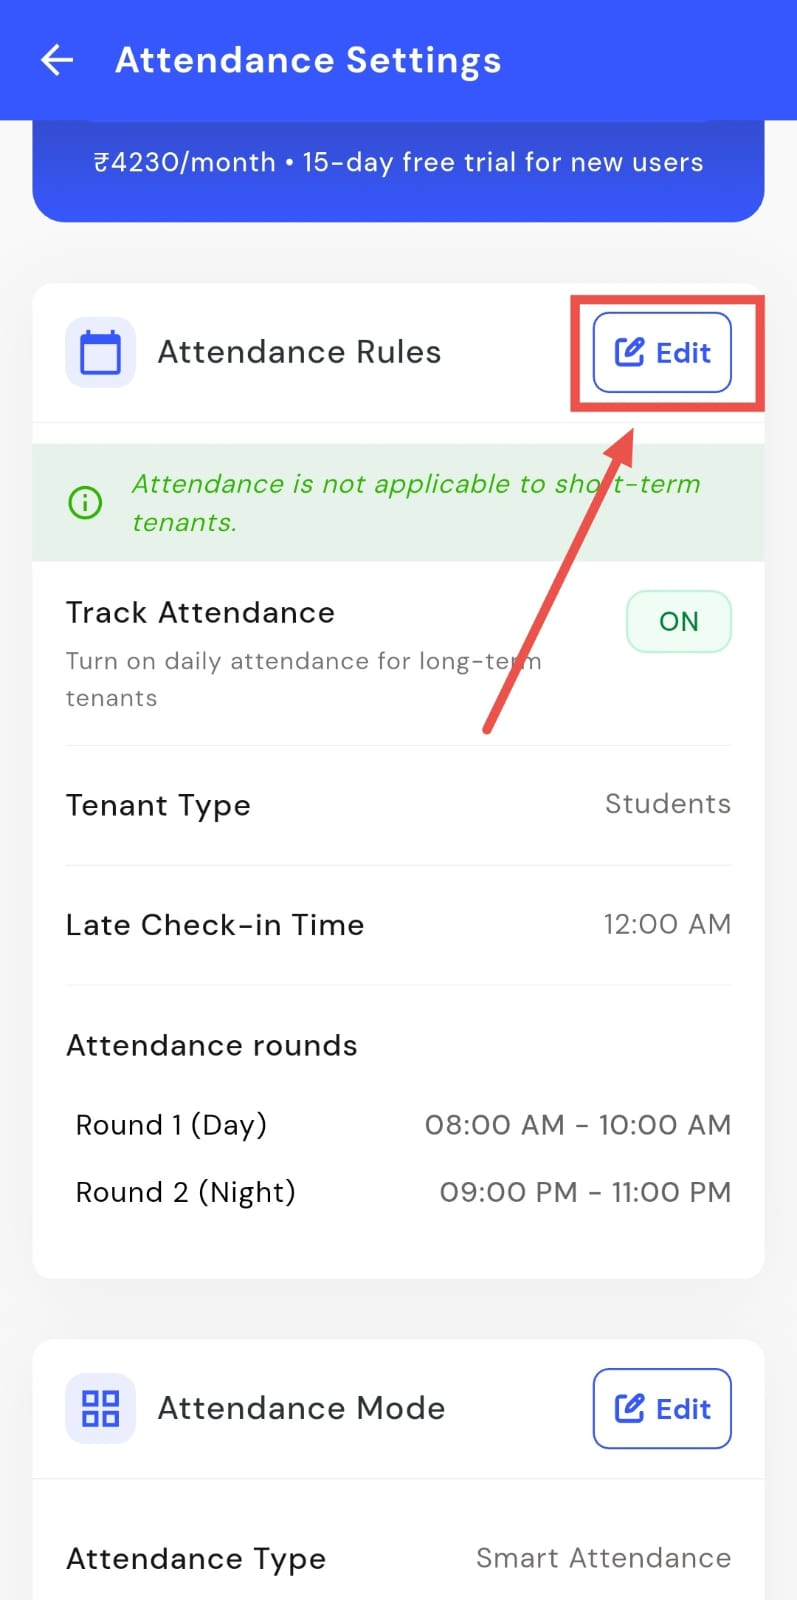
-
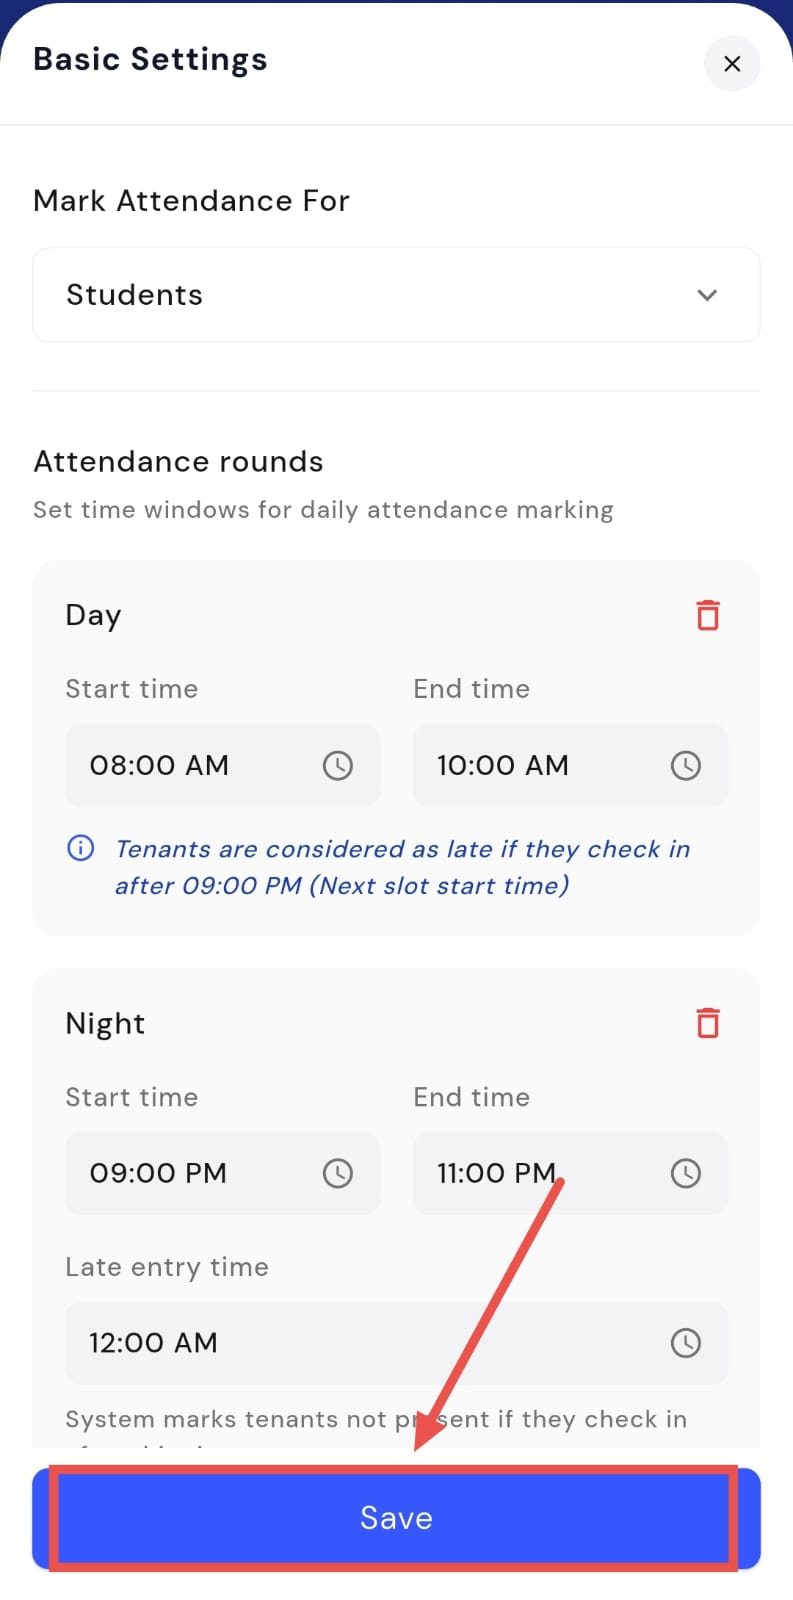
Step 4: Update attendance preferences From here, you can manage how attendance works for your property:
-
Enable or disable attendance tracking based on whether you want attendance to be recorded.
-
Select who attendance should be marked for, such as specific tenant types or groups.
-
Set attendance rounds, which define the daily time window during which attendance can be marked.
-
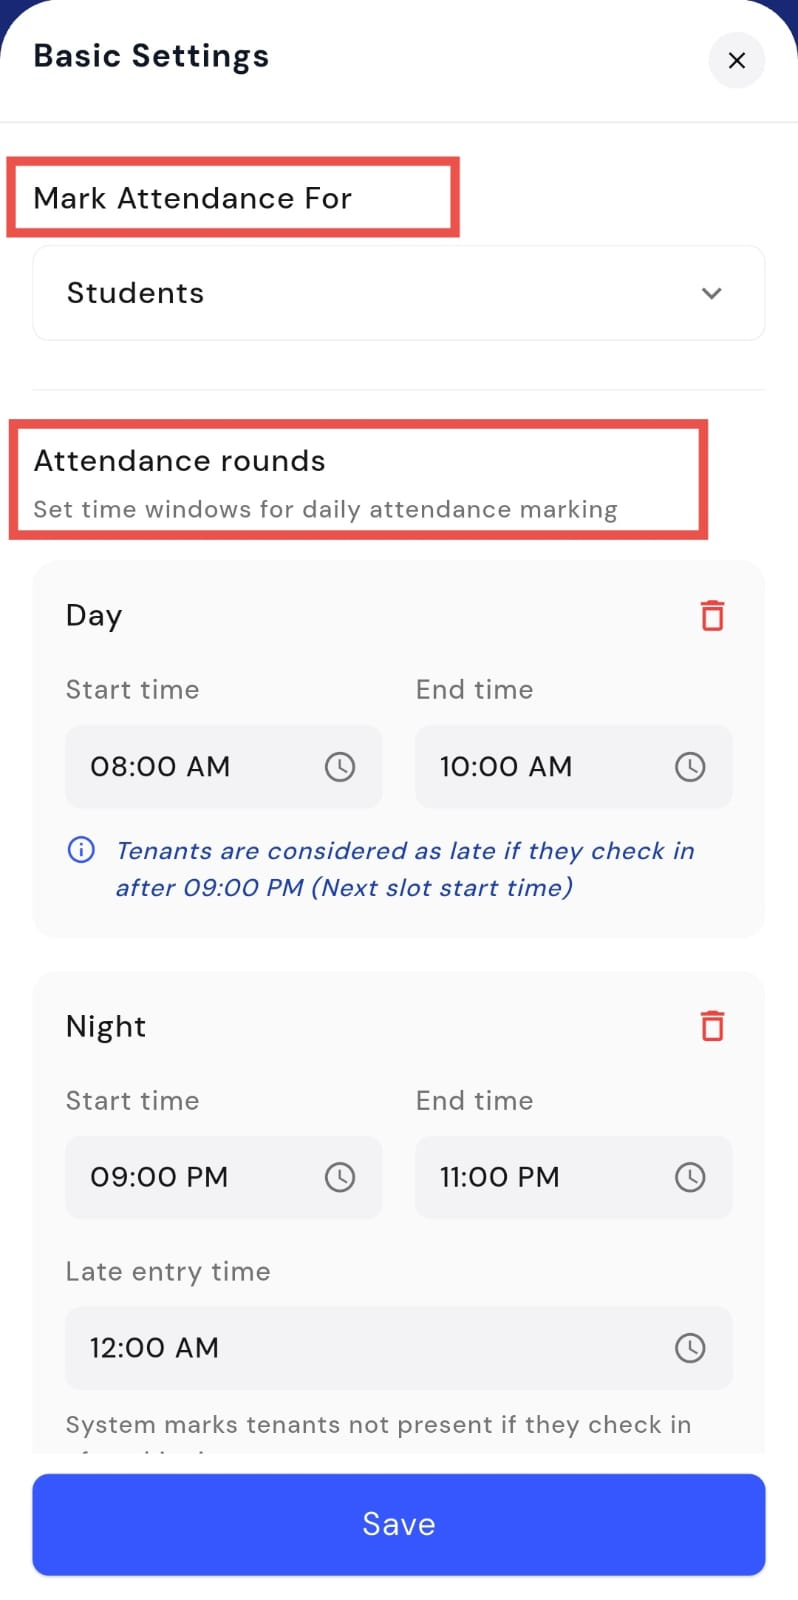
- Step 5: Save the settings After making the required changes, tap Save to confirm and apply the updated settings.
How do I choose or change the attendance mode?
Attendance mode lets you decide how attendance is marked for your property. You can choose between a smart, automated method or a simple manual option, depending on your needs. This setting can be changed anytime from the attendance settings.
Here’s how you can update it:
- Step 1: Open your profile Tap on your profile picture in the top-left corner of the screen to open Settings.
- Step 2: Open Attendance Settings Scroll down on the screen and tap Attendance Settings to continue.
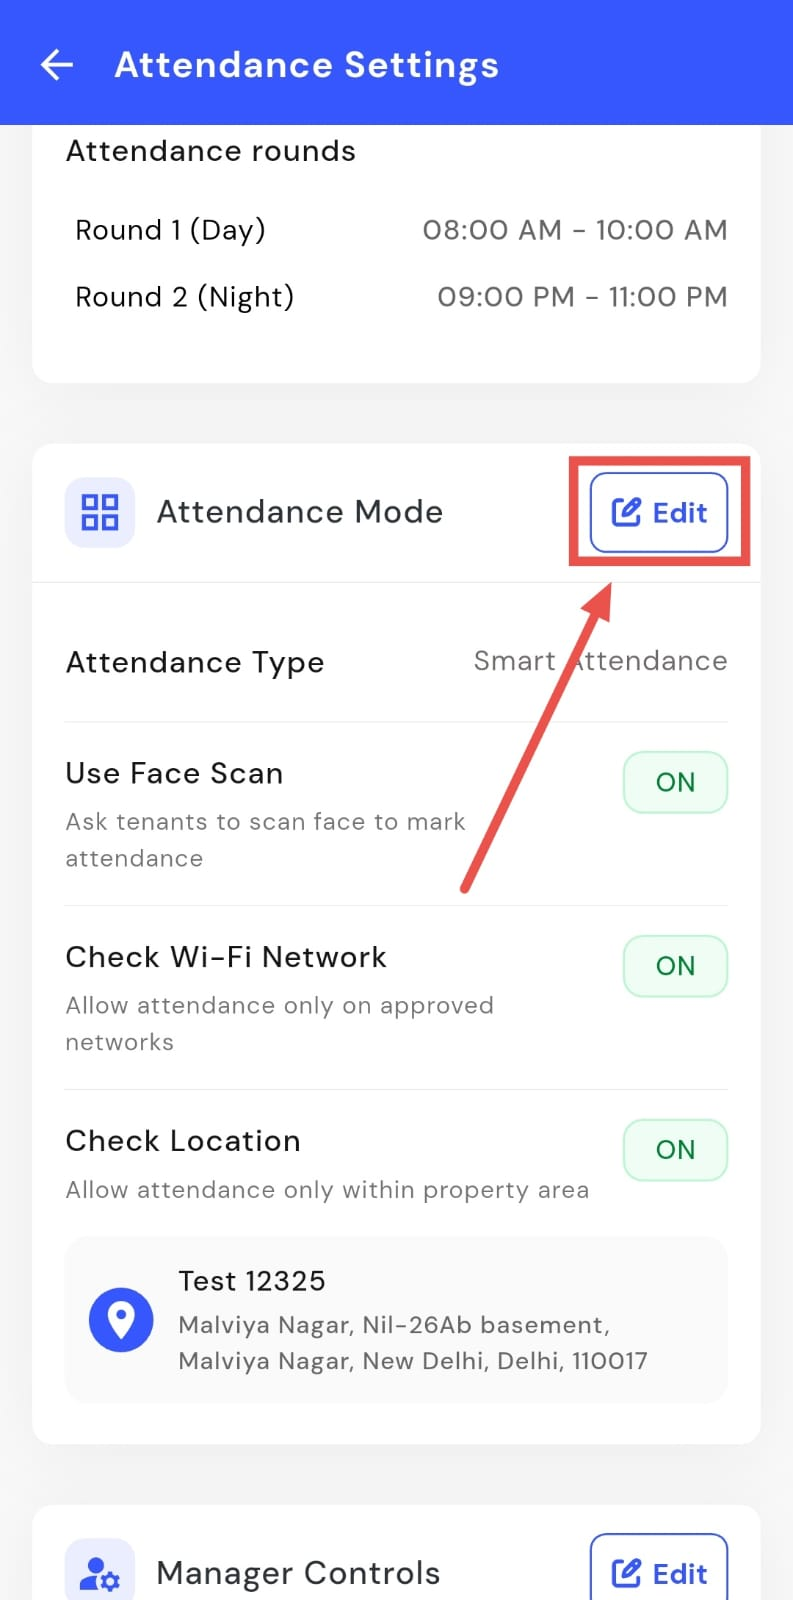
- Step 3: Edit attendance mode On this screen, go to the Attendance Mode section and tap Edit to make changes.
-
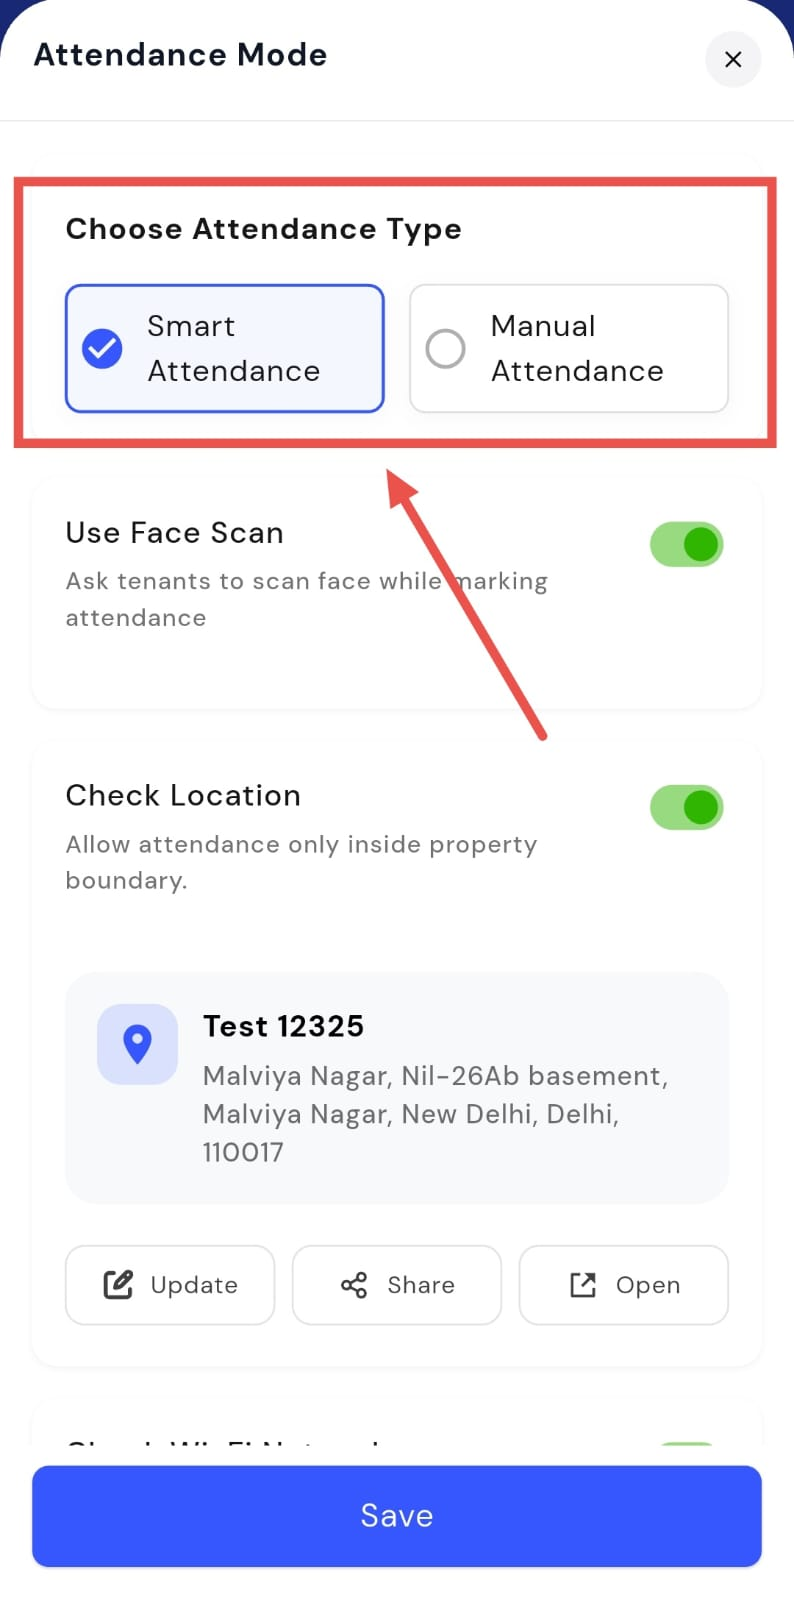
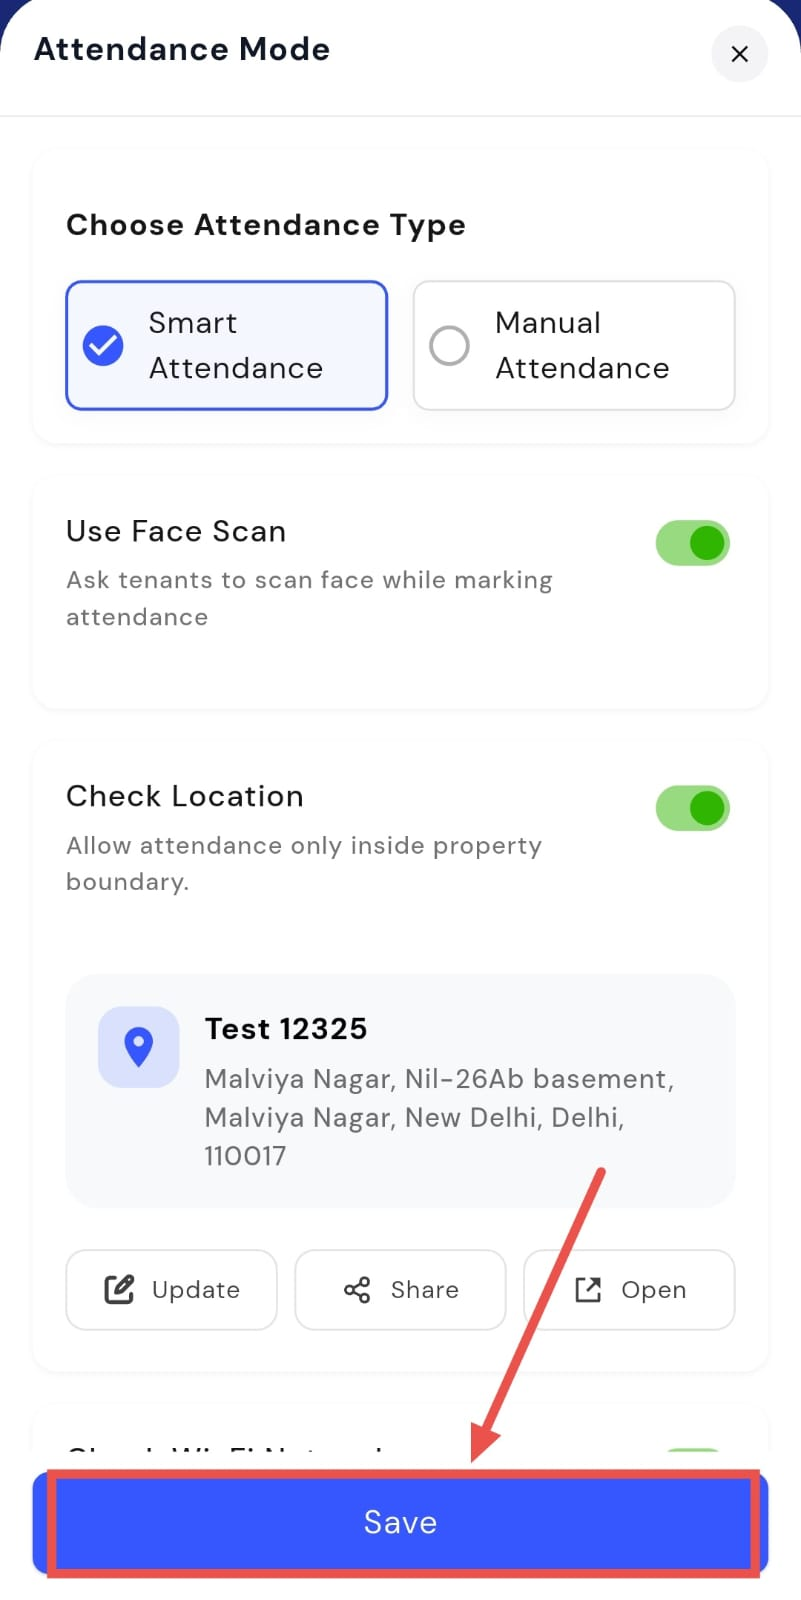
Step 4: Choose an attendance mode From here, select the mode that best suits your property:
- Smart Attendance: Uses face scan, location, and Wi-Fi network checks while marking attendance.
- Manual Attendance: Allows attendance to be marked manually without face scan, location, or Wi-Fi checks.
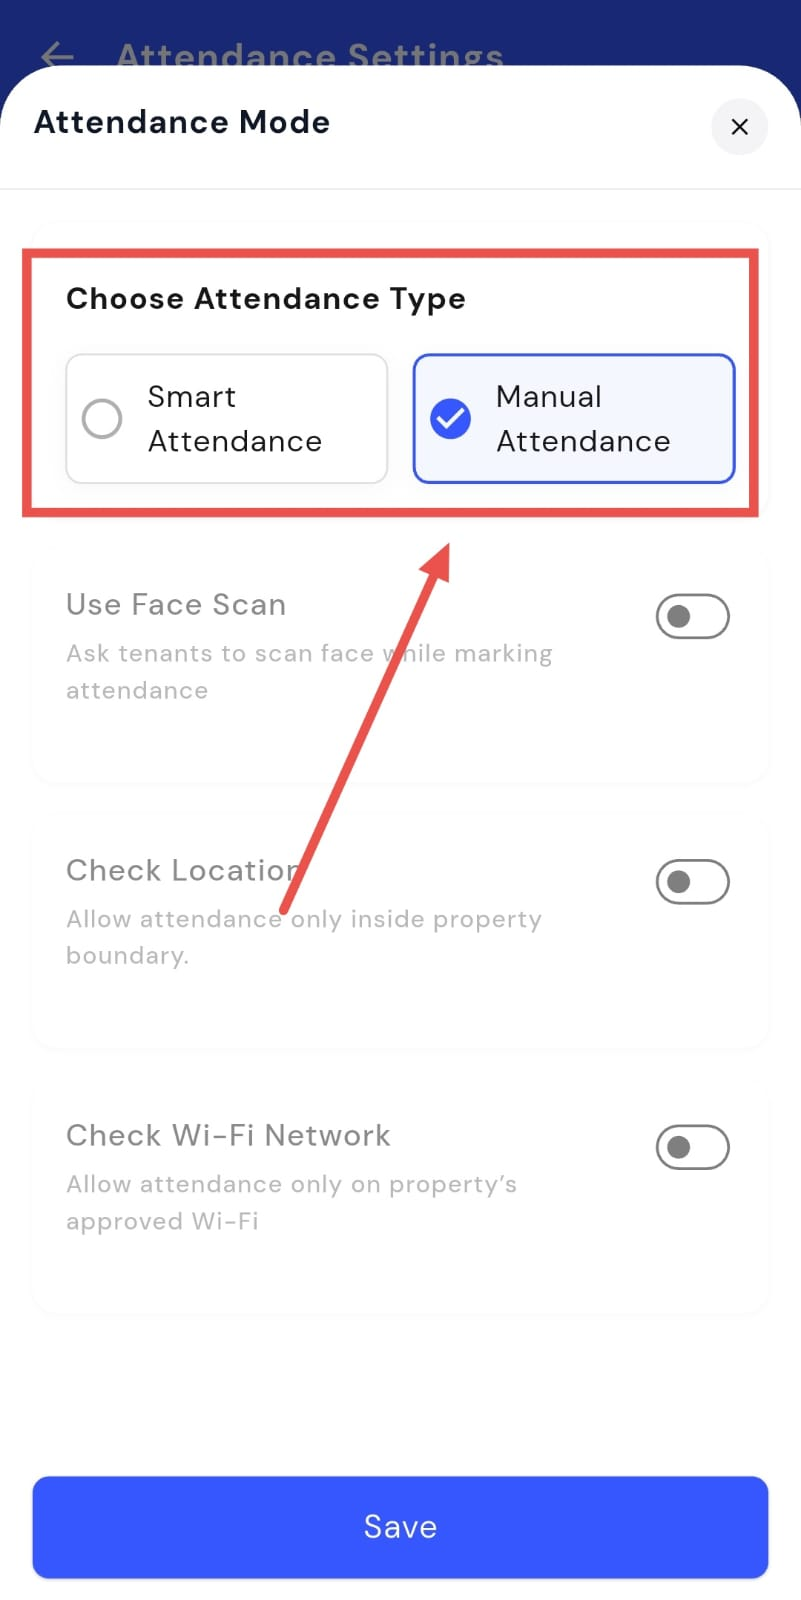
- Step 5: Save the settings After selecting the preferred mode, tap Save to apply the changes.
How do I enable or disable manager control for attendance?
Manager control for attendance allows you to decide whether wardens can manage attendance for tenants. You can allow wardens to mark attendance manually and assign them responsibility for specific tenants. This gives you better control over how attendance is handled at your property.
Here’s how you can manage this setting:
- Step 1: Open your profile Tap on your profile picture in the top-left corner of the screen to open Settings.
- Step 2: Open Attendance Settings Scroll down on the screen and tap Attendance Settings to continue.
- Step 3: Edit manager control settings On this screen, go to the Manager Control section and tap Edit to make changes.
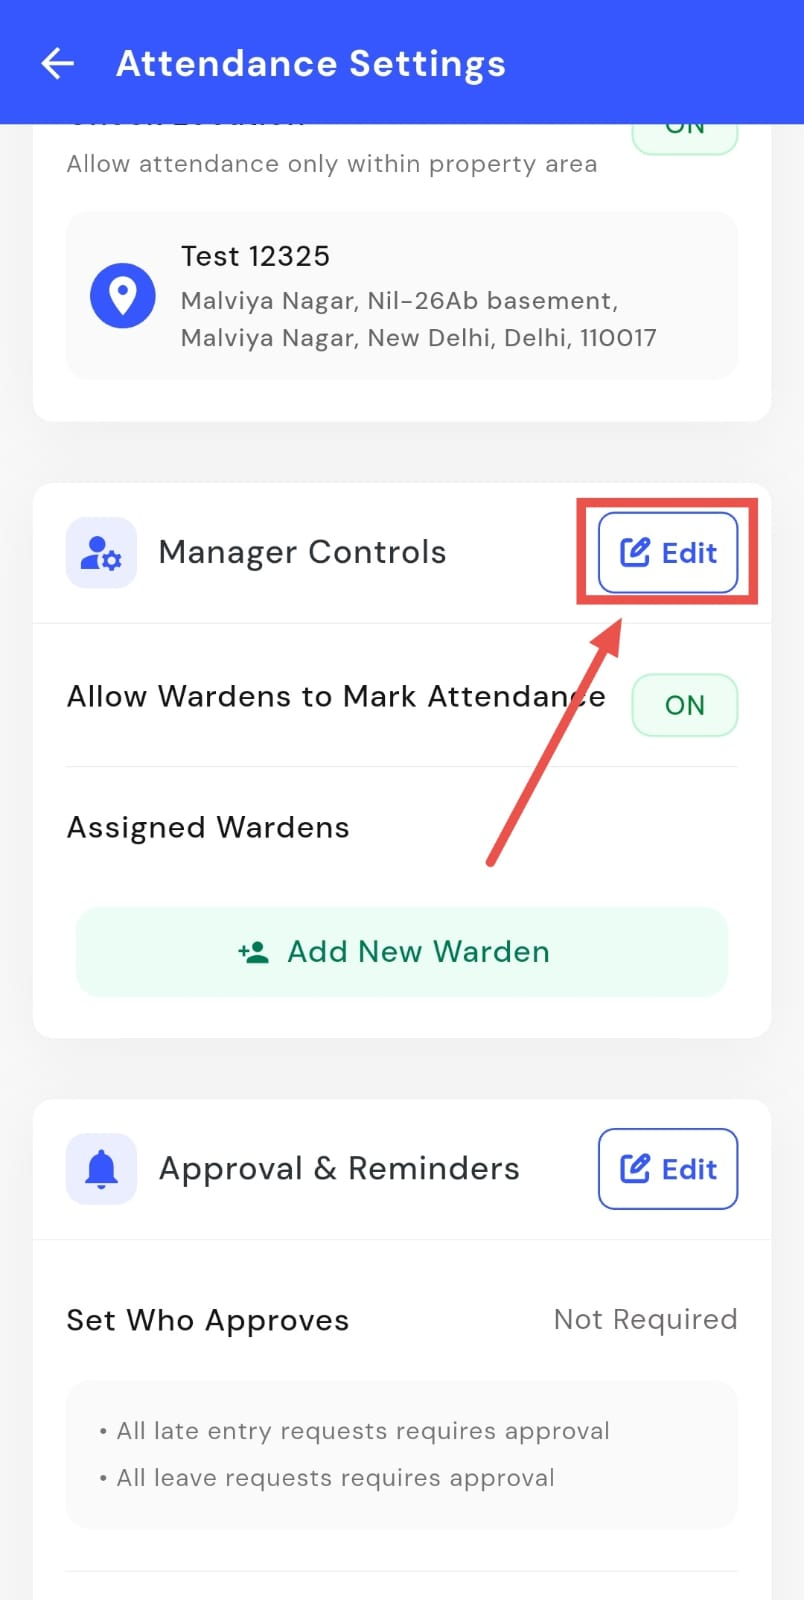
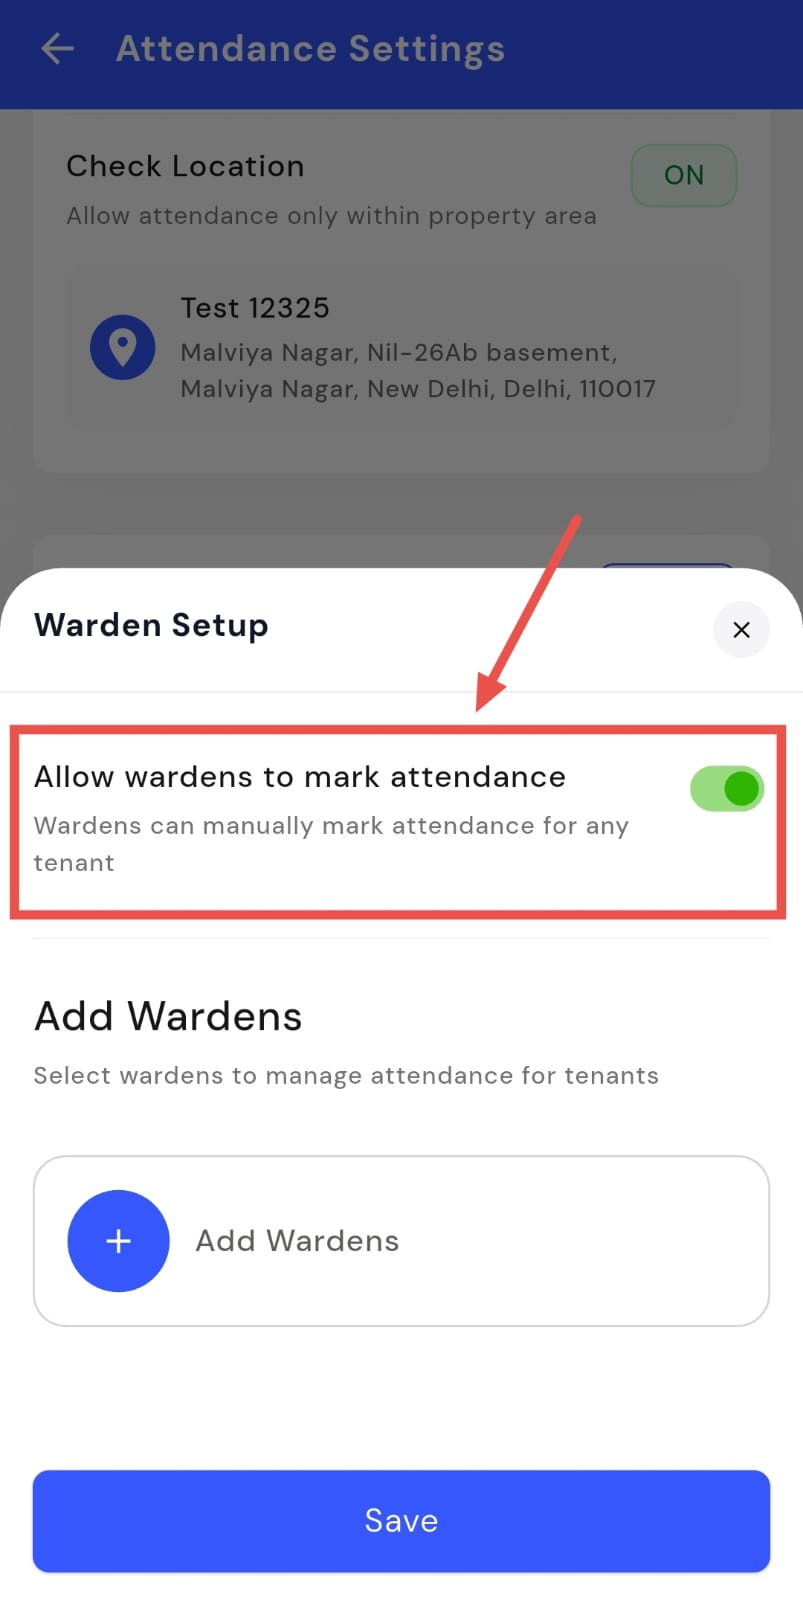
- Step 4: Update manager permissions From here, you can choose whether wardens are allowed to mark attendance manually for tenants and assign wardens to manage attendance as required.
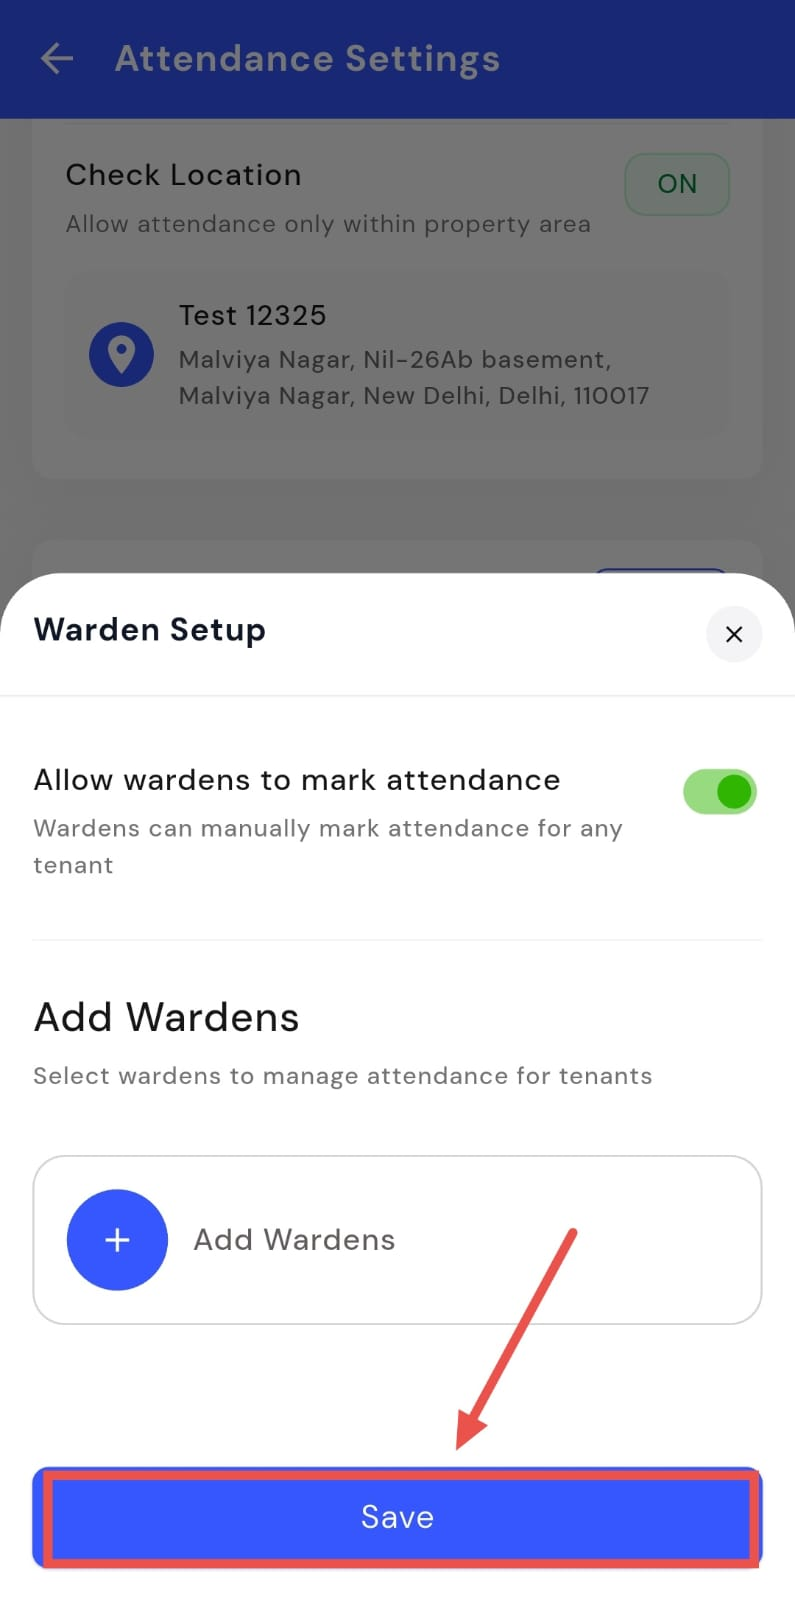
- Step 5: Save the settings After making the required changes, tap Save to confirm and apply the updated settings.
How do I set up attendance approvals?
Attendance approvals let you decide who needs to approve attendance-related requests. You can choose the approval flow based on how closely you want attendance to be monitored. This setting can be updated anytime from the attendance settings.
Here’s how you can set it up:
- Step 1: Open your profile Tap on your profile picture in the top-left corner of the screen to open Settings.
- Step 2: Open Attendance Settings Scroll down on the screen and tap Attendance Settings to continue.
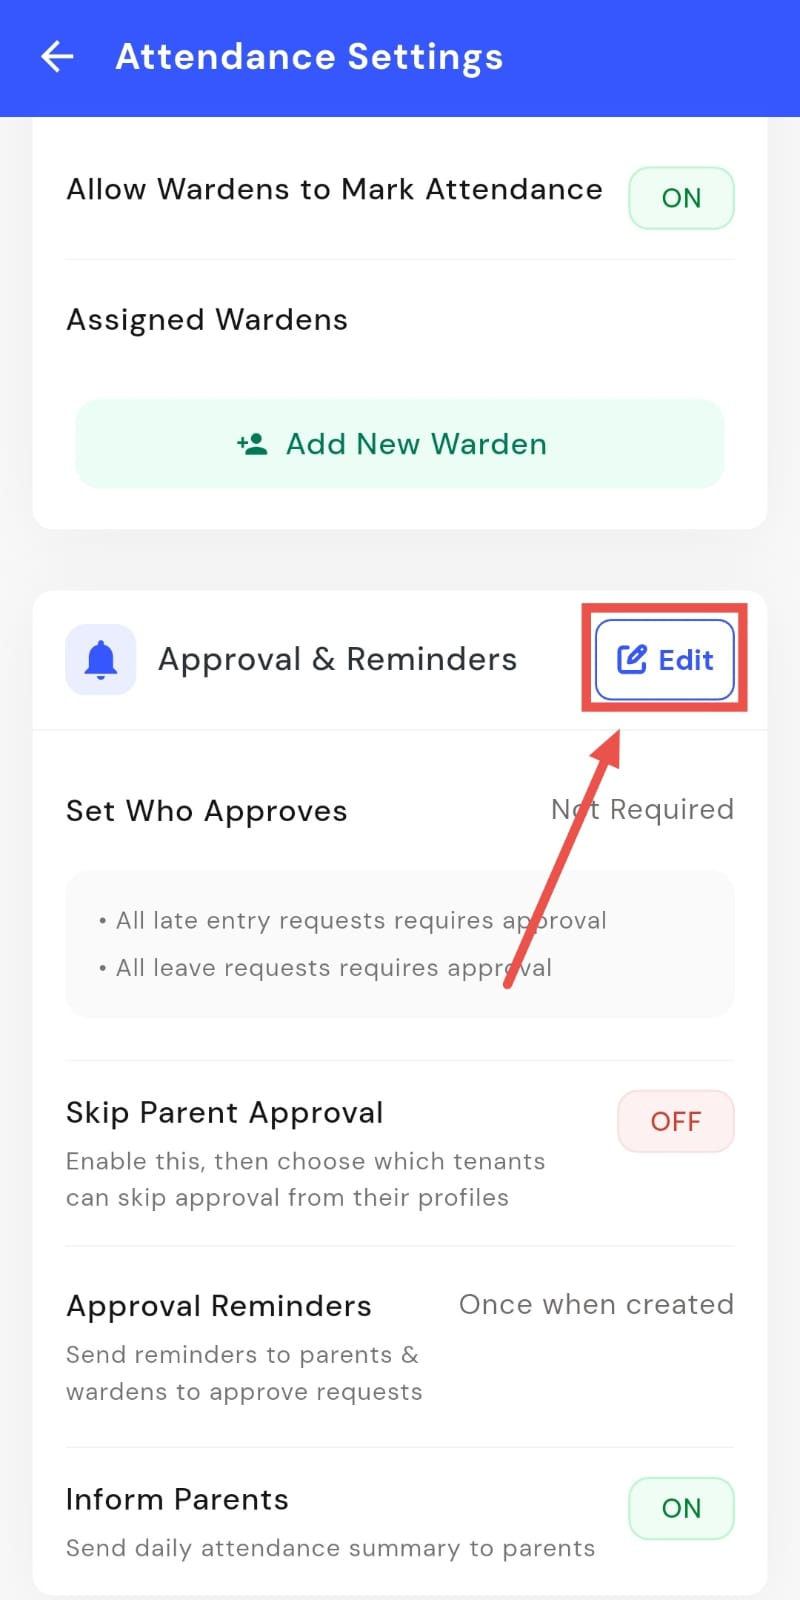
- Step 3: Edit approval settings On this screen, go to the Approvals and Reminders section and tap Edit to make changes.
-
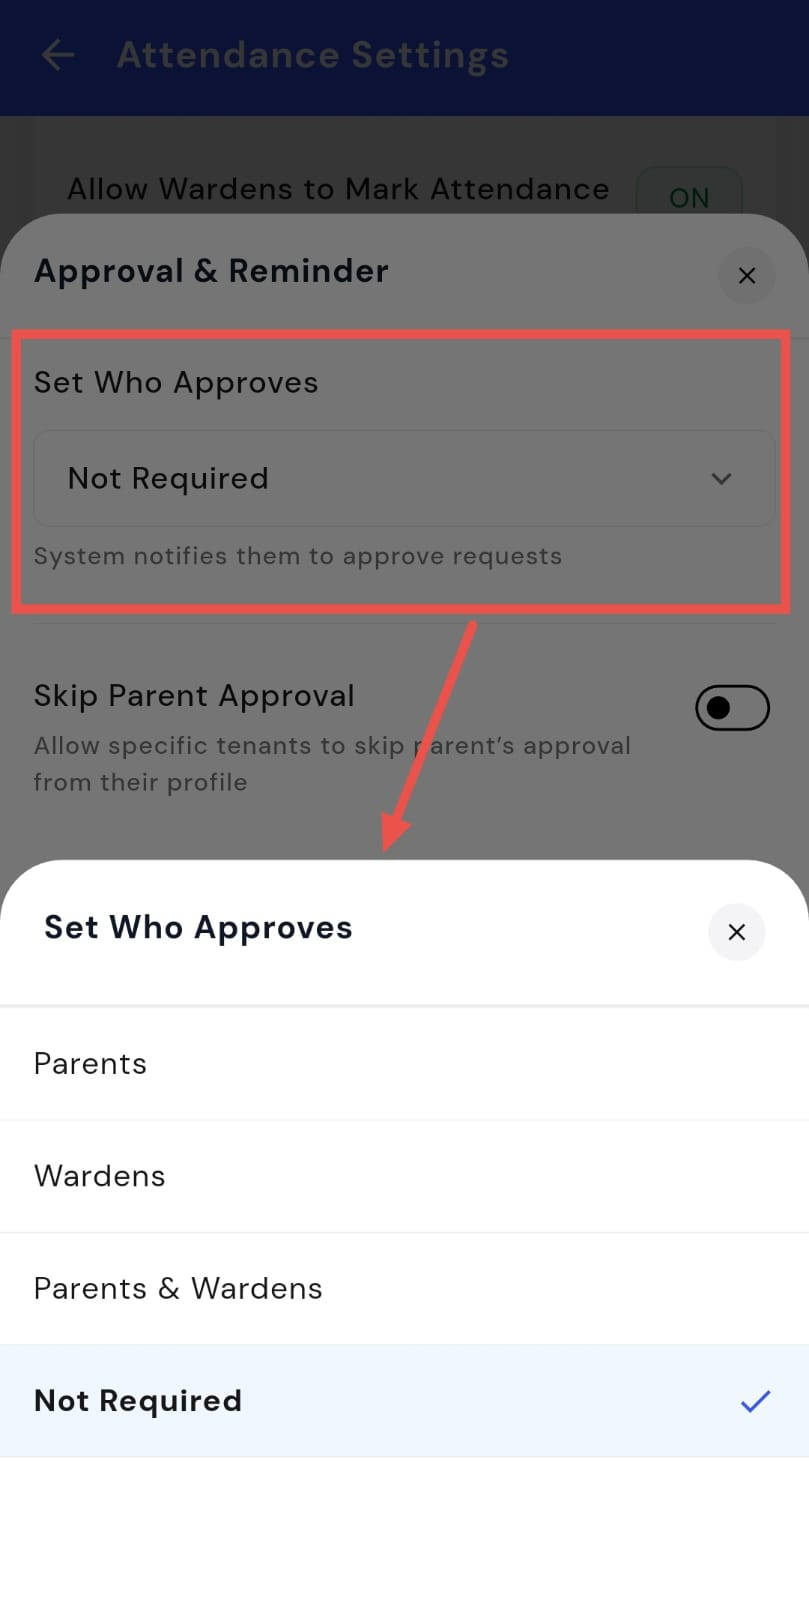
Step 4: Choose who approves attendance requests From here, select the approval flow that works best for you:
-
Not required – attendance requests do not need approval.
-
Parents and wardens – requests must be approved by either parents or wardens.
-
Only wardens – approval is handled only by wardens.
-
Only parents – approval is handled only by parents.
-
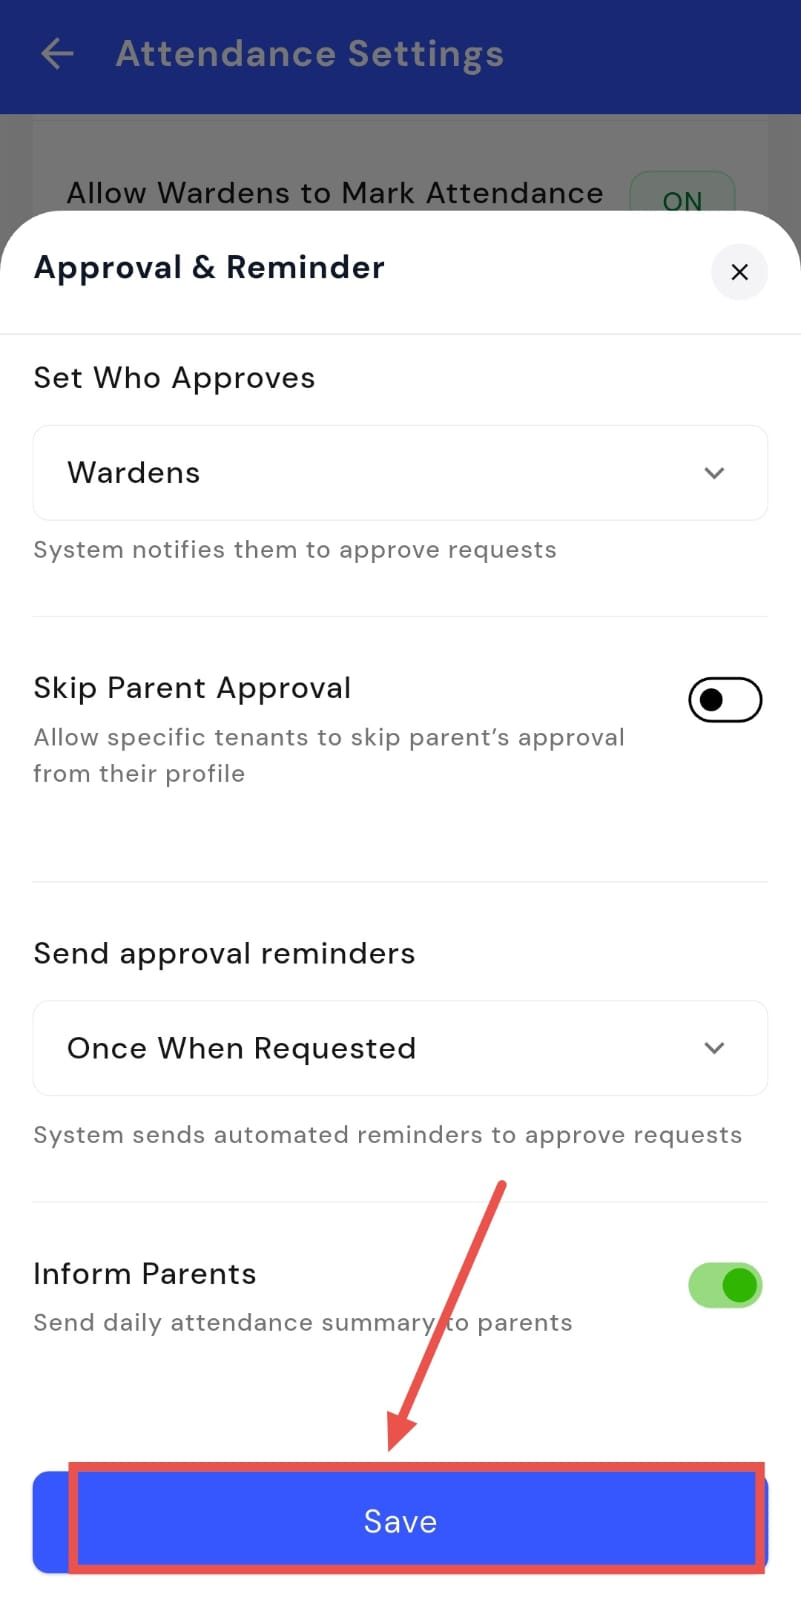
- Step 5: Save the settings After selecting the preferred option, tap Save to apply the updated settings.
How do I enable or disable attendance reminders?
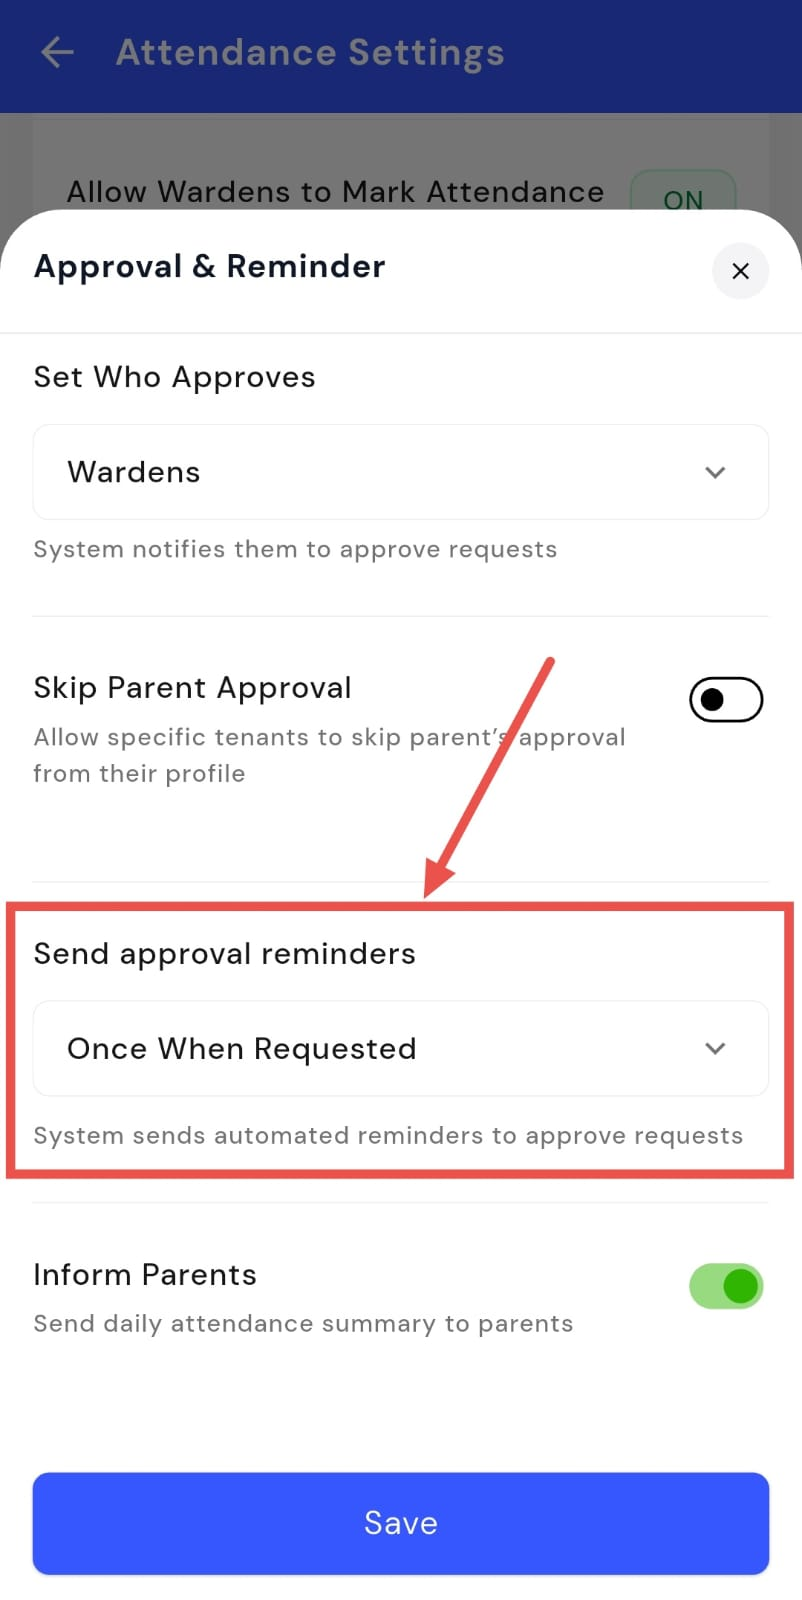
Attendance reminders help ensure that attendance requests are approved on time. When enabled, the system sends automated reminders to parents and wardens whenever an approval is pending. These reminders are sent once per request and can be turned on or off anytime.
Here’s how you can manage this setting:
- Step 1: Open your profile Tap on your profile picture in the top-left corner of the screen to open Settings.
- Step 2: Open Attendance Settings Scroll down on the screen and tap Attendance Settings to continue.
- Step 3: Edit approval and reminder settings On this screen, go to the Approvals and Reminders section and tap Edit to make changes.
- Step 4: Enable or disable attendance reminders From here, you can choose whether automated reminders should be sent to parents and wardens to approve attendance requests. These reminders are sent once when a request is raised.
- Step 5: Save the settings After updating the option, tap Save to confirm and apply the changes.
| Tip: If you have selected Not required in the "Set who approves" section, no approval reminders will be sent to anyone. |
|---|