RentOk Release Notes - 8th Jan, 2026
RentOk Release Notes- 8th Jan,2026
📢 RentOk Release Notes - 8th Jan, 2026
Hello! 👋 Following our December launch, we’re rolling out enhancements and new additions that build on the recently released features- making RentOk even more powerful and reliable for your day-to-day operations.
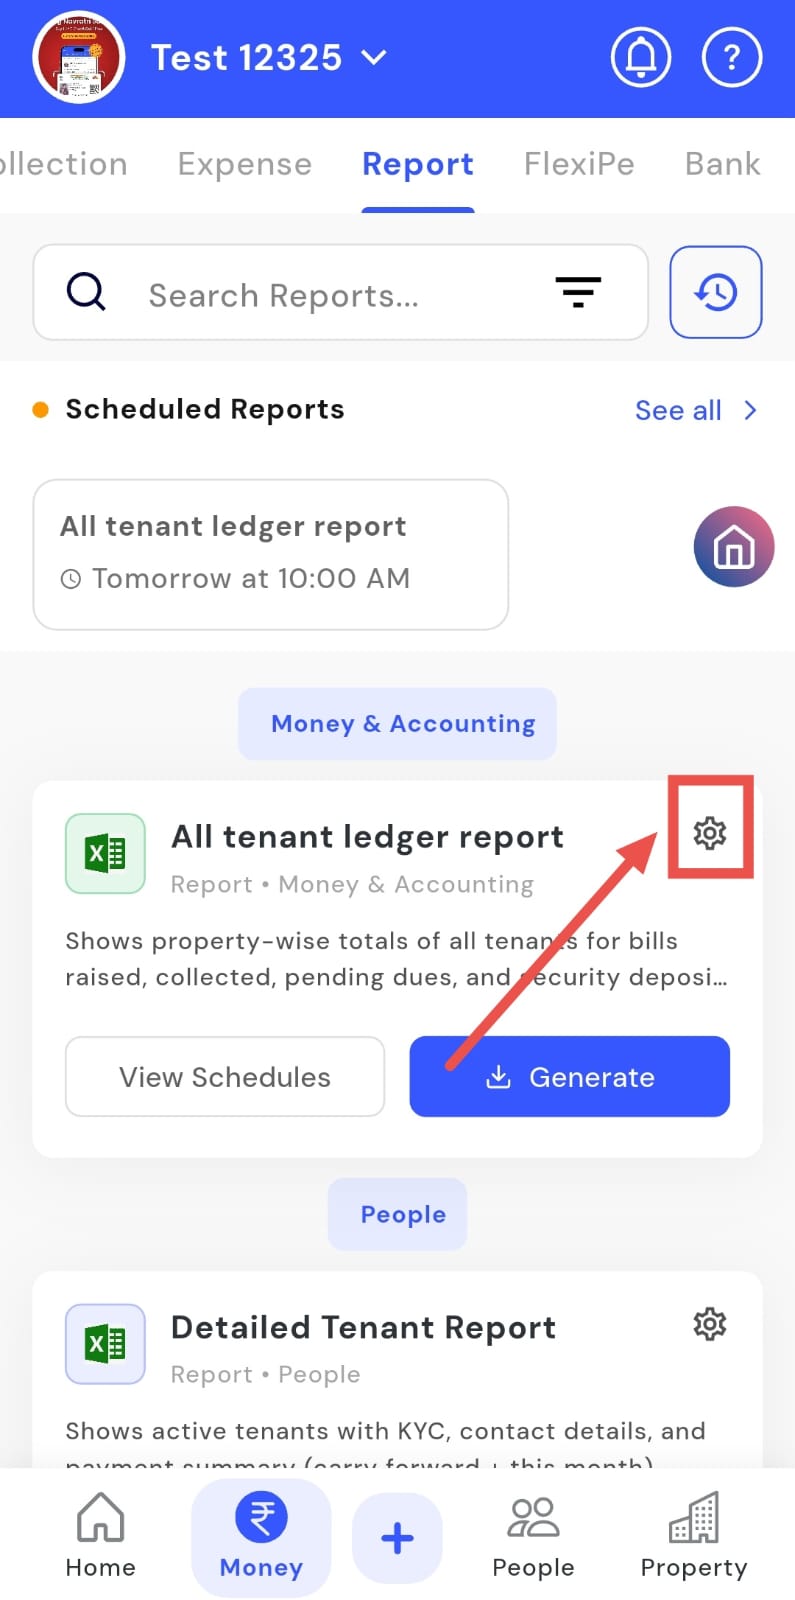
Powerful Reports on the Mobile - schedule, customize, and download on the go
The entire Reports section on the mobile app has been rebuilt from the ground up to give you desktop-level power in your pocket.
See what’s new →
Highlights
- Schedule Reports: Automatically send any report via email on a recurring basis - daily, weekly, or monthly.
- Customize Columns: You now have full control to choose exactly which data columns you want to see in your reports.
- Reorder Columns: Simply drag and drop columns to arrange them in the order that works best for you.
- New Clean Interface: Reports are now neatly grouped by category (e.g., Financial, Tenant), making it easier to find what you need.
How to try
How to Access
- Step 1: Open Reports Tap the Money icon in the bottom navigation menu, then select Reports to access reporting options.
- Step 2: View Available Reports From here, you can access all the latest and updated reports available in the app.

- Step 3: Open Settings to Manage Reports Click on the Settings option to schedule reports and manage the report columns.
-
Step 4: Create a New Report Schedule Click on New Schedule to create a new schedule for your reports. From here, you can:
- Choose how often the report should be sent
- Set the date and time for the report
- Select the properties for which the report should be generated
- Choose the recipients who should receive the report
-
Step 5: Customize Report Columns Go to the Report Columns section to see all the columns that will appear in your report. Here, you can:
- Click Edit to start rearranging the columns
- Press and hold a column to move it up or down
- Click Save to apply the changes
One example
- “Schedule a 'Collection Report' to be emailed to your accountant every Monday at 9 AM, with only the columns they need to see.”
| 💡 Why it matters: This brings powerful, desktop-level reporting capabilities to the mobile app. It saves time for owners and managers who are often on the move and makes sharing data with your team completely automatic. |
|---|
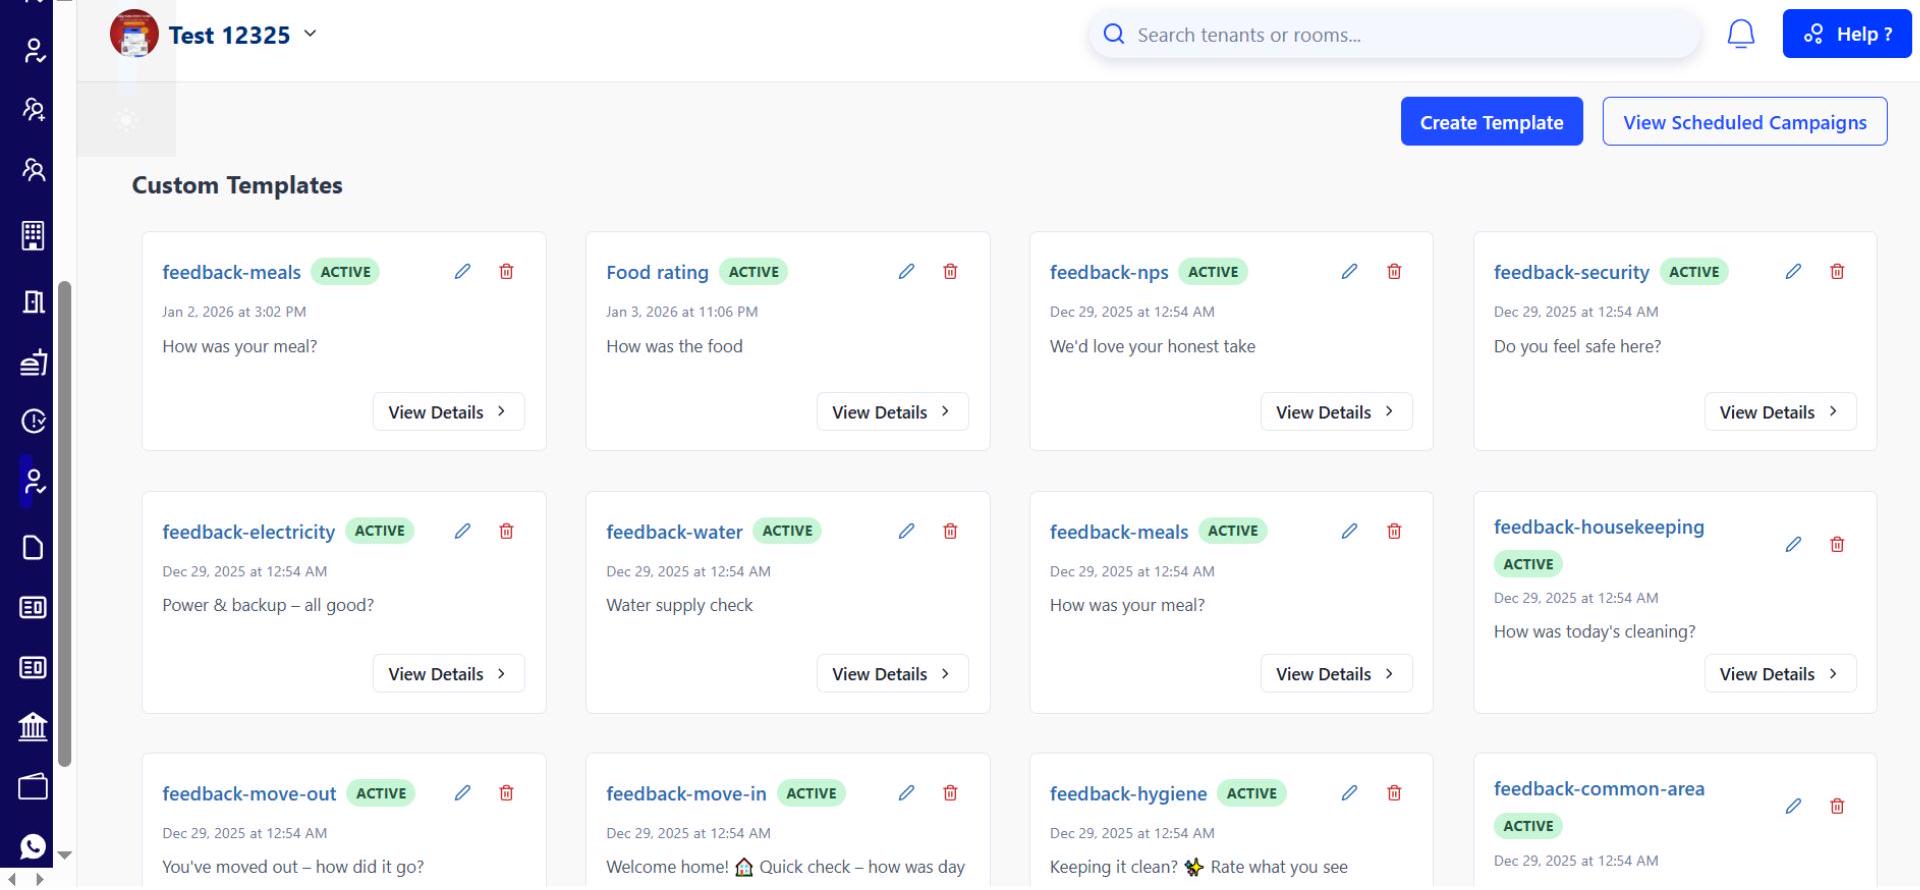
Review Module - What’s New Since Last Release
The Review Module is now more insightful and actionable with new reporting and analytics capabilities.
New & Improved
- Downloadable Excel Reports: Export all tenant feedback in Excel format for deeper analysis and easy sharing.
- Detailed Question-wise Analytics: View a detailed analytics summary for every question to better understand tenant sentiment.
- Improved Review Analytics View: See average ratings and response summaries across campaigns in one place.
How to Access
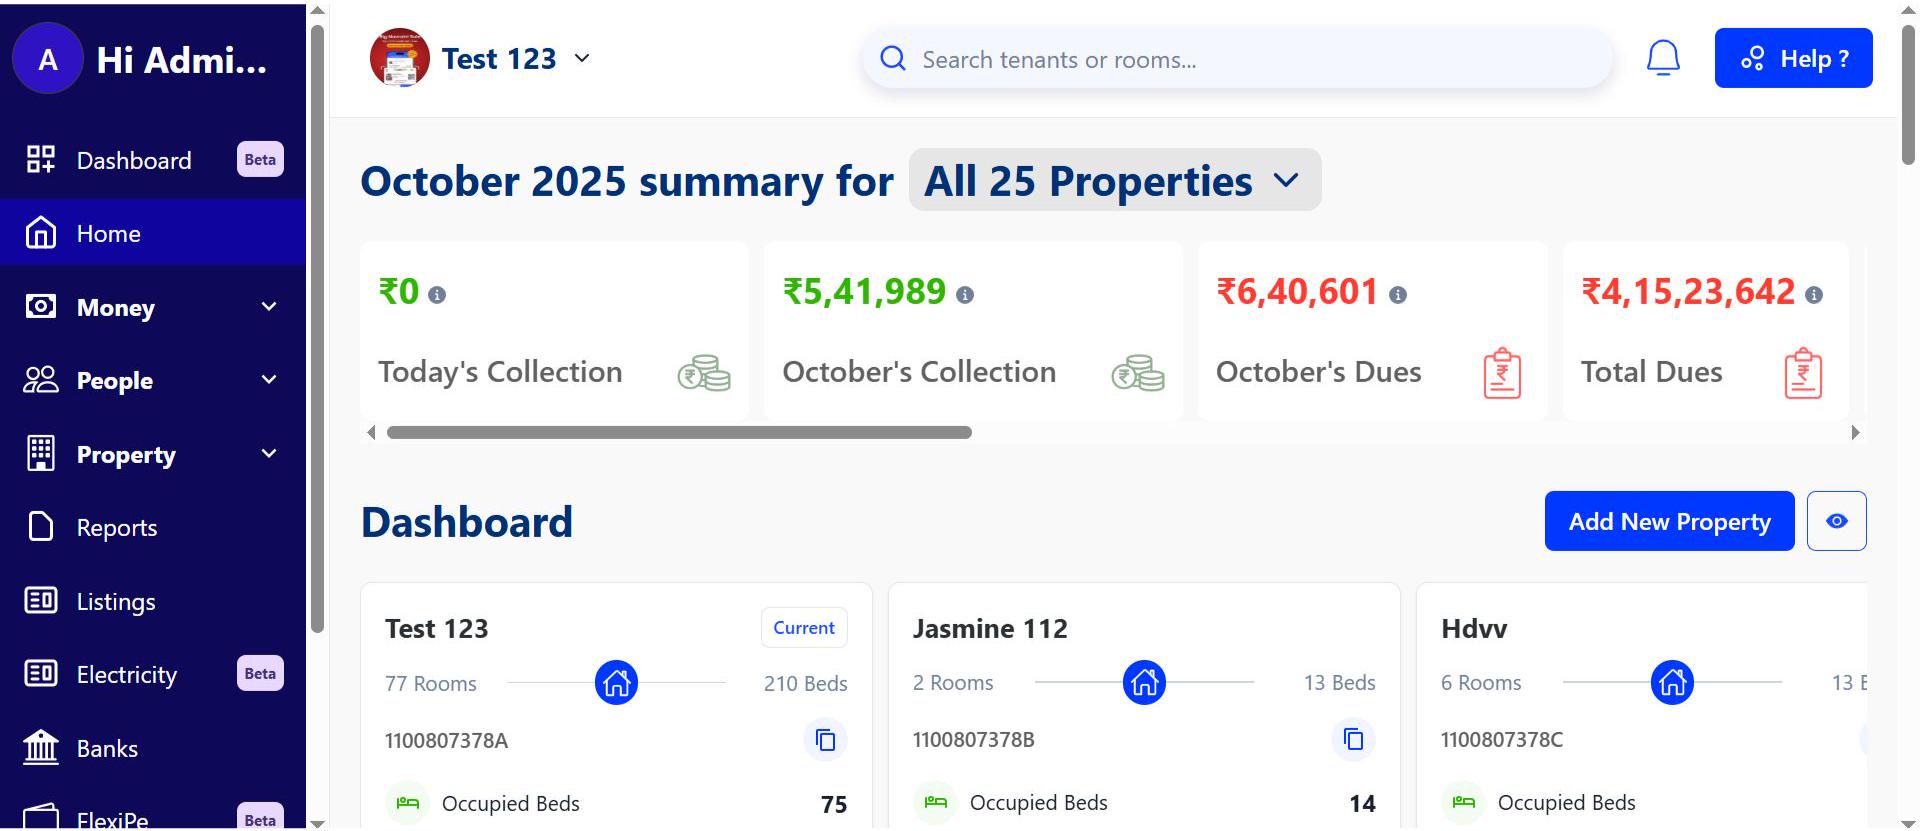
- Step 1: Log in to the web version Open the web version of the app and enter your credentials to log in.
- Step 2: Go to the Home page After logging in, the home page gives you an overview of your account.
- Step 3: Open the Reviews Section From the top menu, go to Properties. Inside Properties, navigate to the Reviews section to continue.
- Step 4: Access review forms After going to Reviews, you’ll land on a page where you can create and manage your review forms.
- Step 5: View Review Form Details Click View Details on the review form you want to check.
- Step 6: Check Tenant Responses and Download Data Click View Tenant Responses to see all tenant responses along with the question-wise analysis. You can also download the response sheet from here.
- Tenants receive review links directly via WhatsApp.
💡 Why it matters: These enhancements help you go beyond collecting feedback-now you can analyze trends, spot issues faster, and make data-backed improvements. Ab tenants se feedback lena aur samajhna dono hua aur bhi aasan.
New GST Report - Simplify Your Tax Filing
For GST-applicable properties, we’ve launched a brand-new GST report designed in collaboration with CAs to reduce manual effort and filing errors.
Highlights
- All GST Data in One Place: Tenant details, GSTIN, invoice number, billing period, HSN codes, and complete tax breakup (CGST, SGST).
- Payment & Settlement Tracking: View taxable value, total amount, collected amount, payment mode, and settlement status.
- Direct Receipt Links: Quickly verify transactions with direct payment receipt access.
- CA-Verified Format: Ready-to-use report that meets GST filing requirements.
How to Access
- Step 1: Log in to the web version Open the web version of the app and enter your credentials to log in.
- Step 2: Go to the Home page After logging in, the home page gives you an overview of your account.
- Step 3: Navigate to Reports Click on the Reports section from the home page to view all available reports.
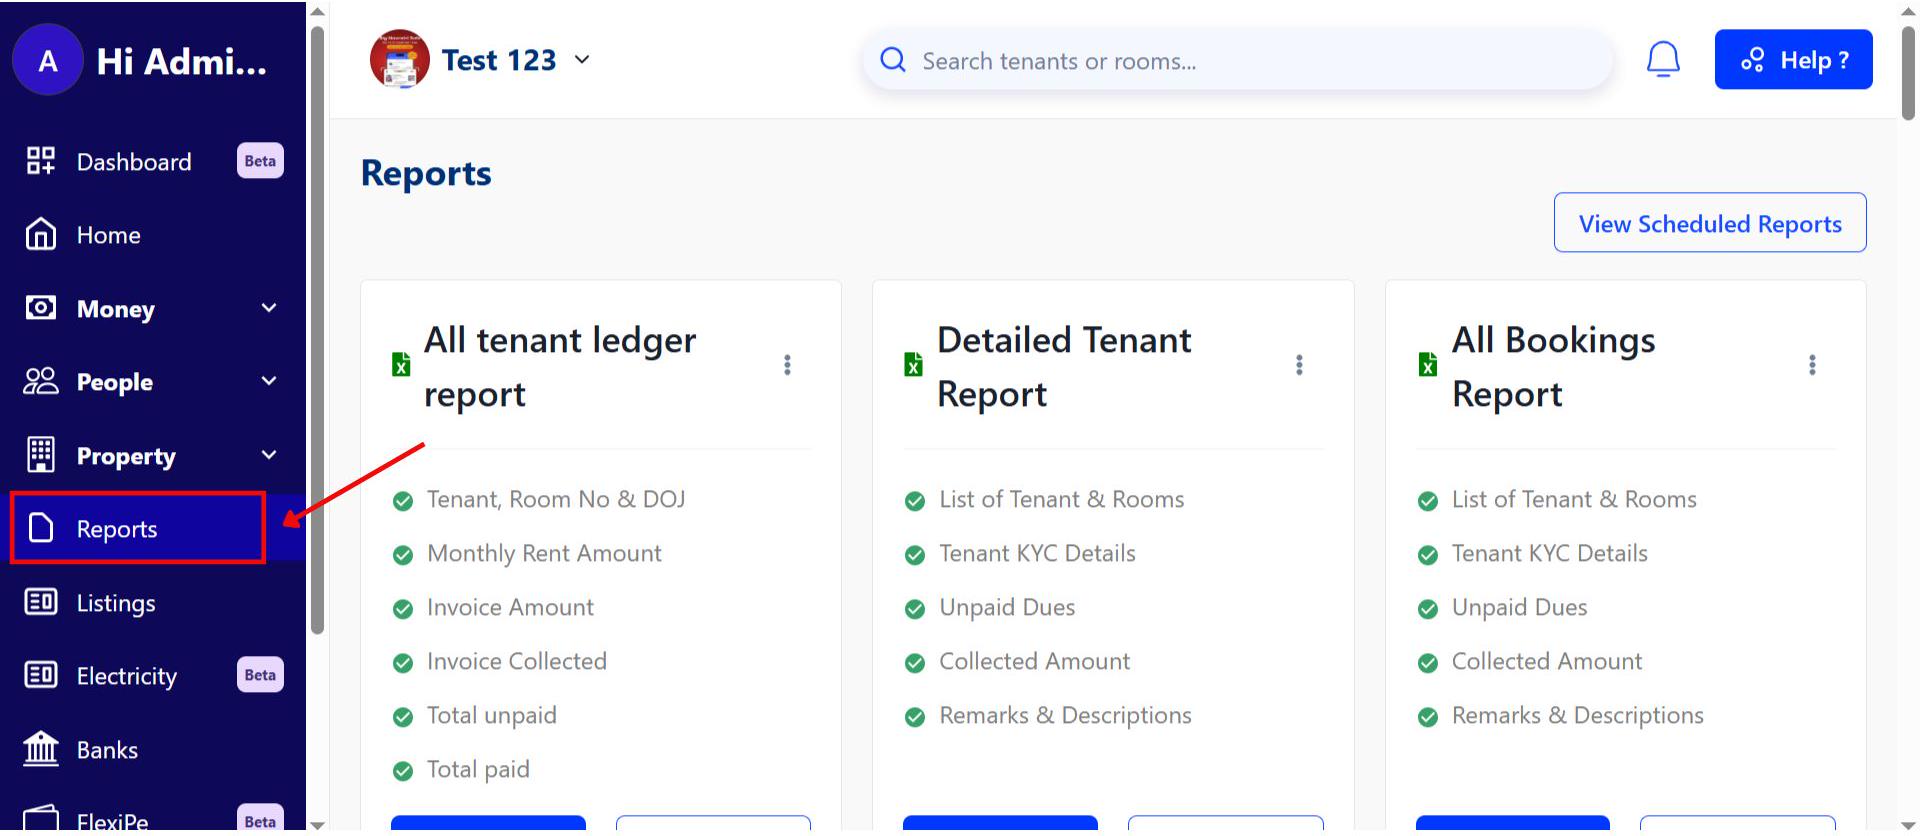
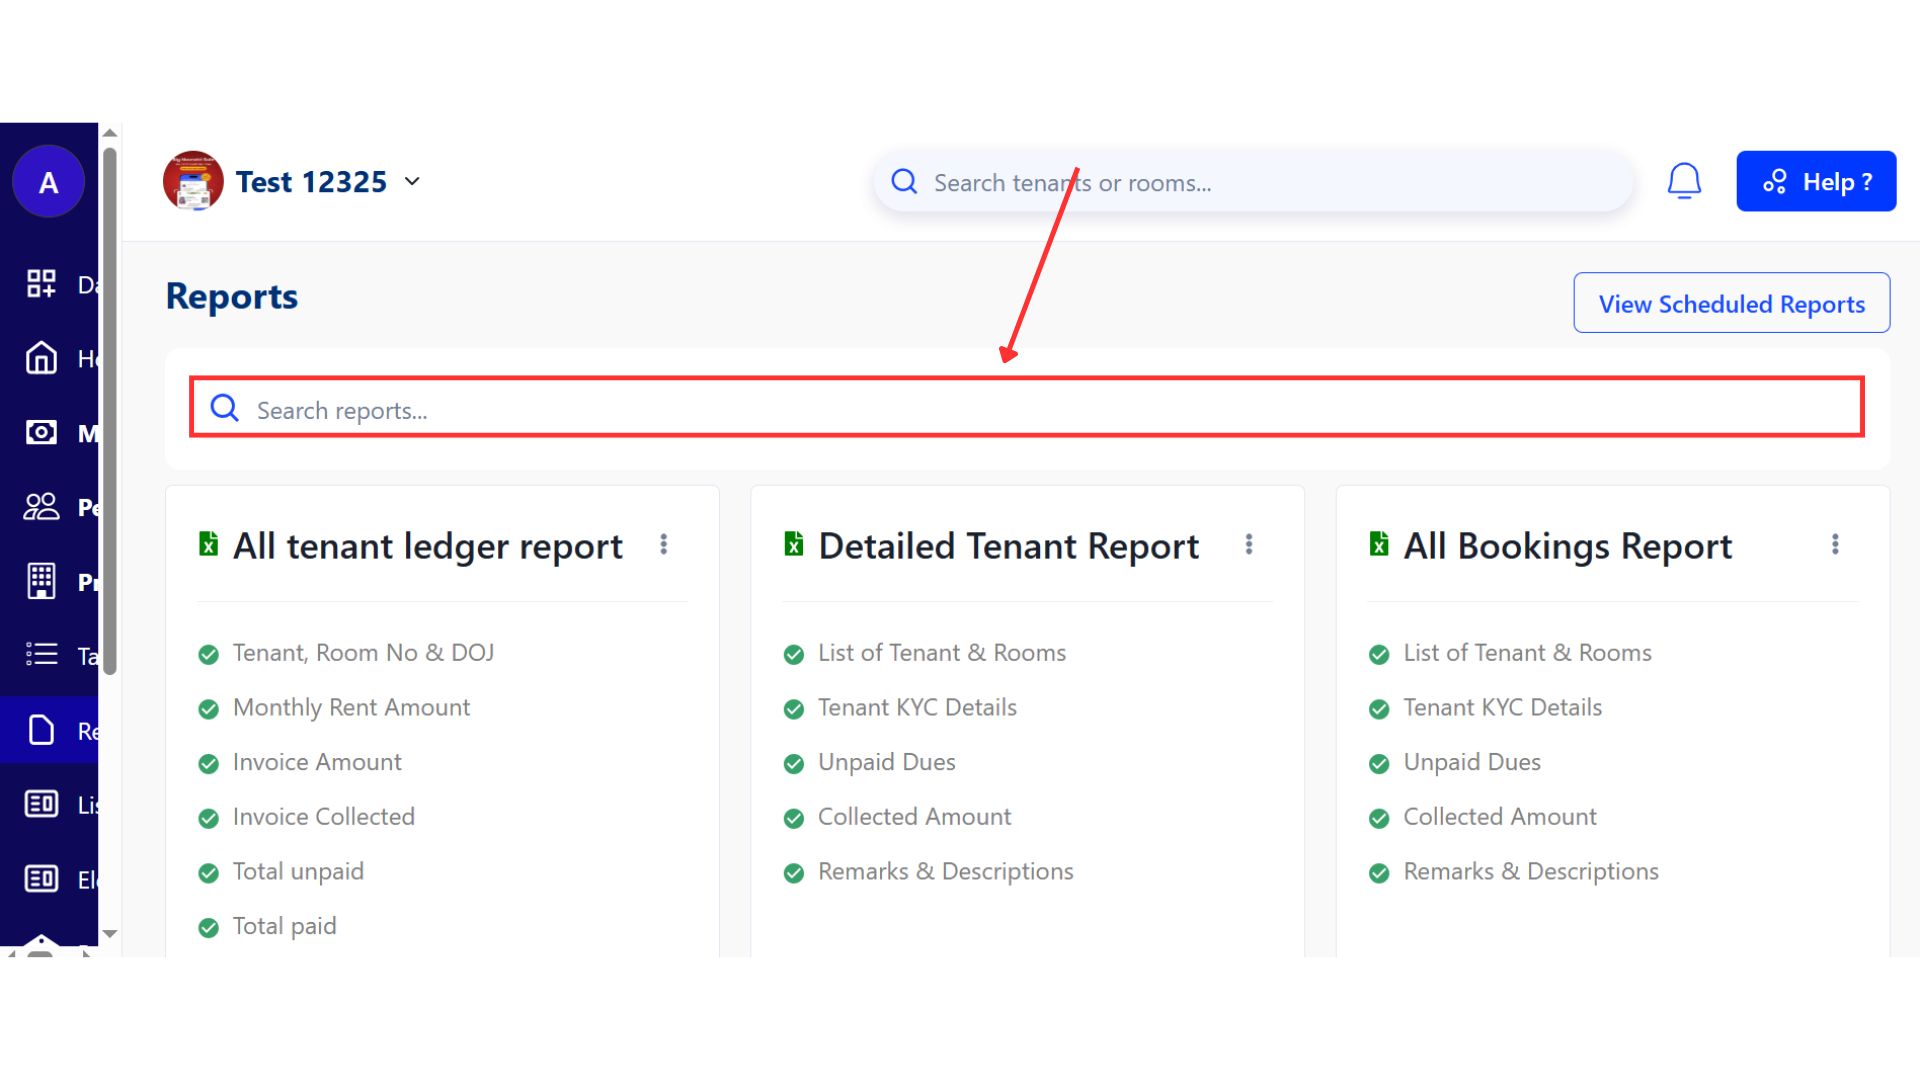
- Step 4: Find the GST Report Use the search option or scroll to locate the GST Report.
- Step 5: Generate and Download the Report Click on Generate Report. Your GST report will be generated and downloaded.

💡 Why it matters: Saves hours of manual reconciliation, reduces errors, and gives your accounting team a clean, filing-ready report.
Fixes & Polish
- Faster White-Label App Updates Fully automated Android & iOS release pipeline for quicker feature rollouts and bug fixes.
- Complete Property Settings on Web All property settings are now accessible and manageable from the web dashboard.
- Website Editor Fixes Resolved issues where property website details were not saving correctly.
Coming Up Next
- Instagram Lead Integration: Automatically capture leads from Instagram comments and DMs.
- Smarter Lead & Admission Enhancements to further reduce manual follow-ups.
Thank You
Have doubts or any feedback? Chat with us in-app (Help → send us message). We’re building for you, and every suggestion counts!