12th March 2026
Hello!
This update is packed with powerful new modules to streamline your operations. We've come up with a comprehensive
Asset Management system and a flexible Utility Billing module. Plus, we've completely redesigned the Tenant and Room
screens on the web for a faster, more intuitive experience.
Introducing Asset Management on Web - Track Every Item in Your Property
We are launching a new module on the web to help you create and manage a complete inventory of all the assets in your
property, from ACs and furniture to bedsheets and kettles.
See what’s new →
Highlights
• Onboard Assets in Bulk: Quickly add hundreds of assets at once using a simple Excel sheet template.
• Link Assets to Rooms: Assign specific assets to individual rooms to know what belongs where.
• Track Asset Status: Keep track of whether an asset is "Active" (in a room), "In Storage," or "Retired."
• Filter and Search: Easily find any asset by filtering by category, room, or status.
How to try
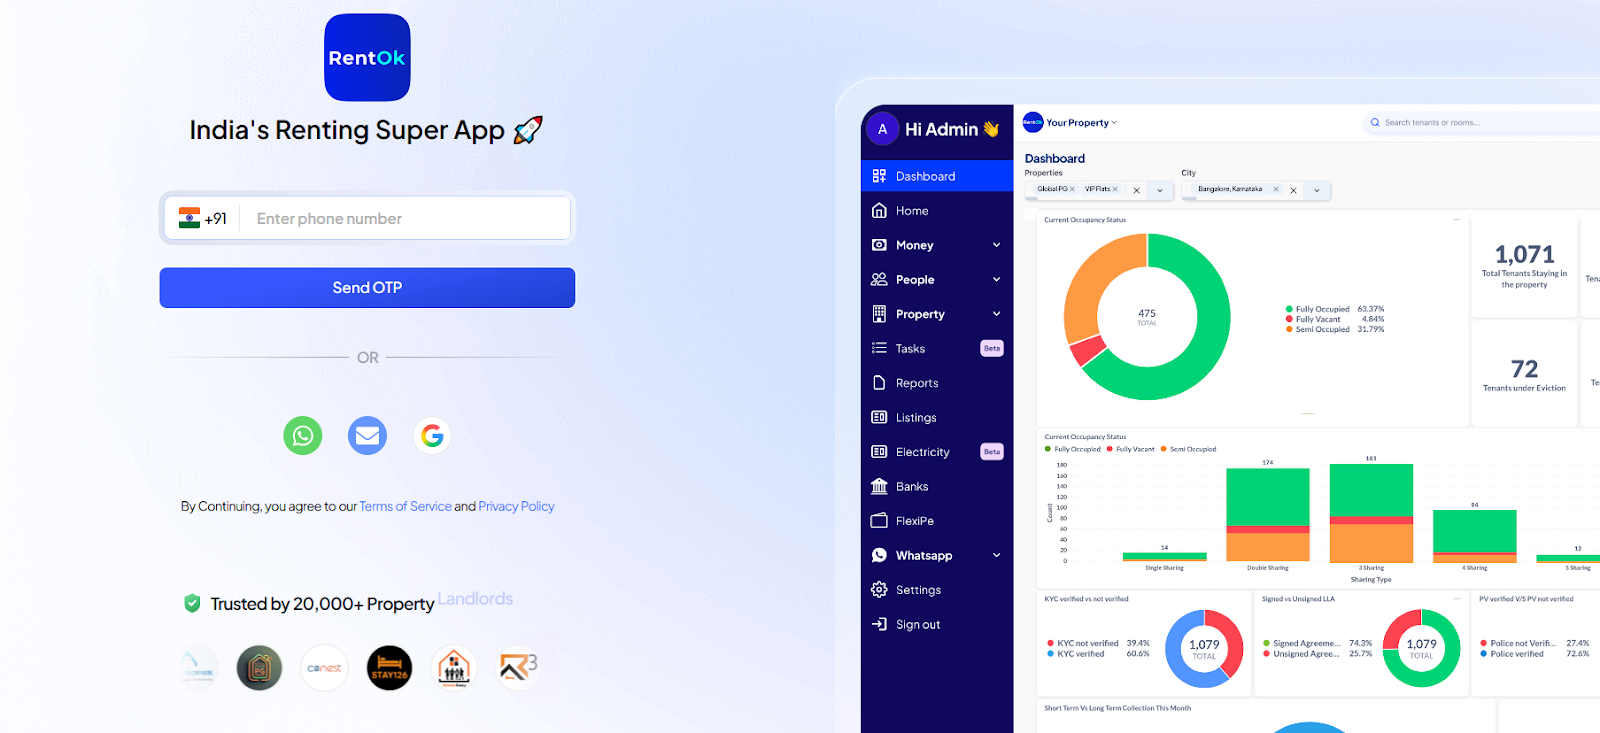
Step 1: Log in to the web version
Open the web version of the app and enter your credentials to log in.

Step 2: Open the Assets section
After logging in, go to the Home page and click on Assets to continue.
[Image]
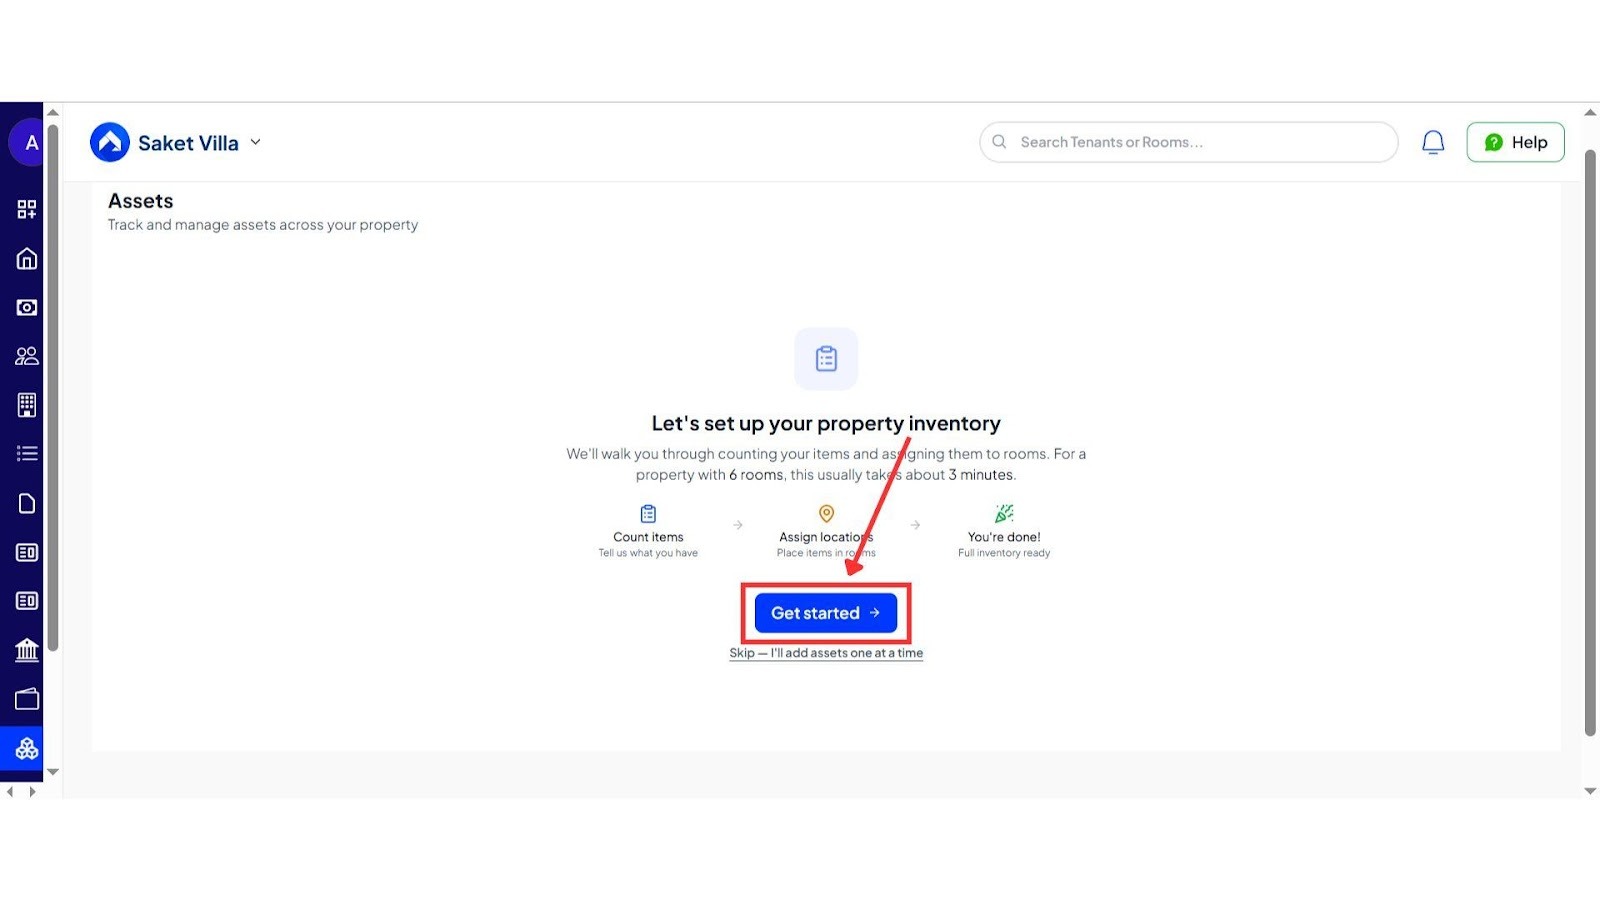
Step 3: Start Setting Up Inventory
You will see the option Let’s set up your property inventory. Click on Get Started to begin.
If you prefer to add items manually later, you can also choose Skip.
Step 4: Choose a Template or Category
If you select Get Started, you will see ready-made templates based on property types and edit it accordingly or choose categories to set up your own inventory, using each category given.
Step 5: Review Suggested Inventory
You will now see a setup screen with suggested items, such as a quick setup for rooms and basic appliances. You can use the suggested counts or scroll down to add and customize items based on your needs.
-e2776decade185ac74f020438dac3f75.jpeg)
Step 6: Assign Assets to Rooms
- After finalizing the items, click on Assign Location.
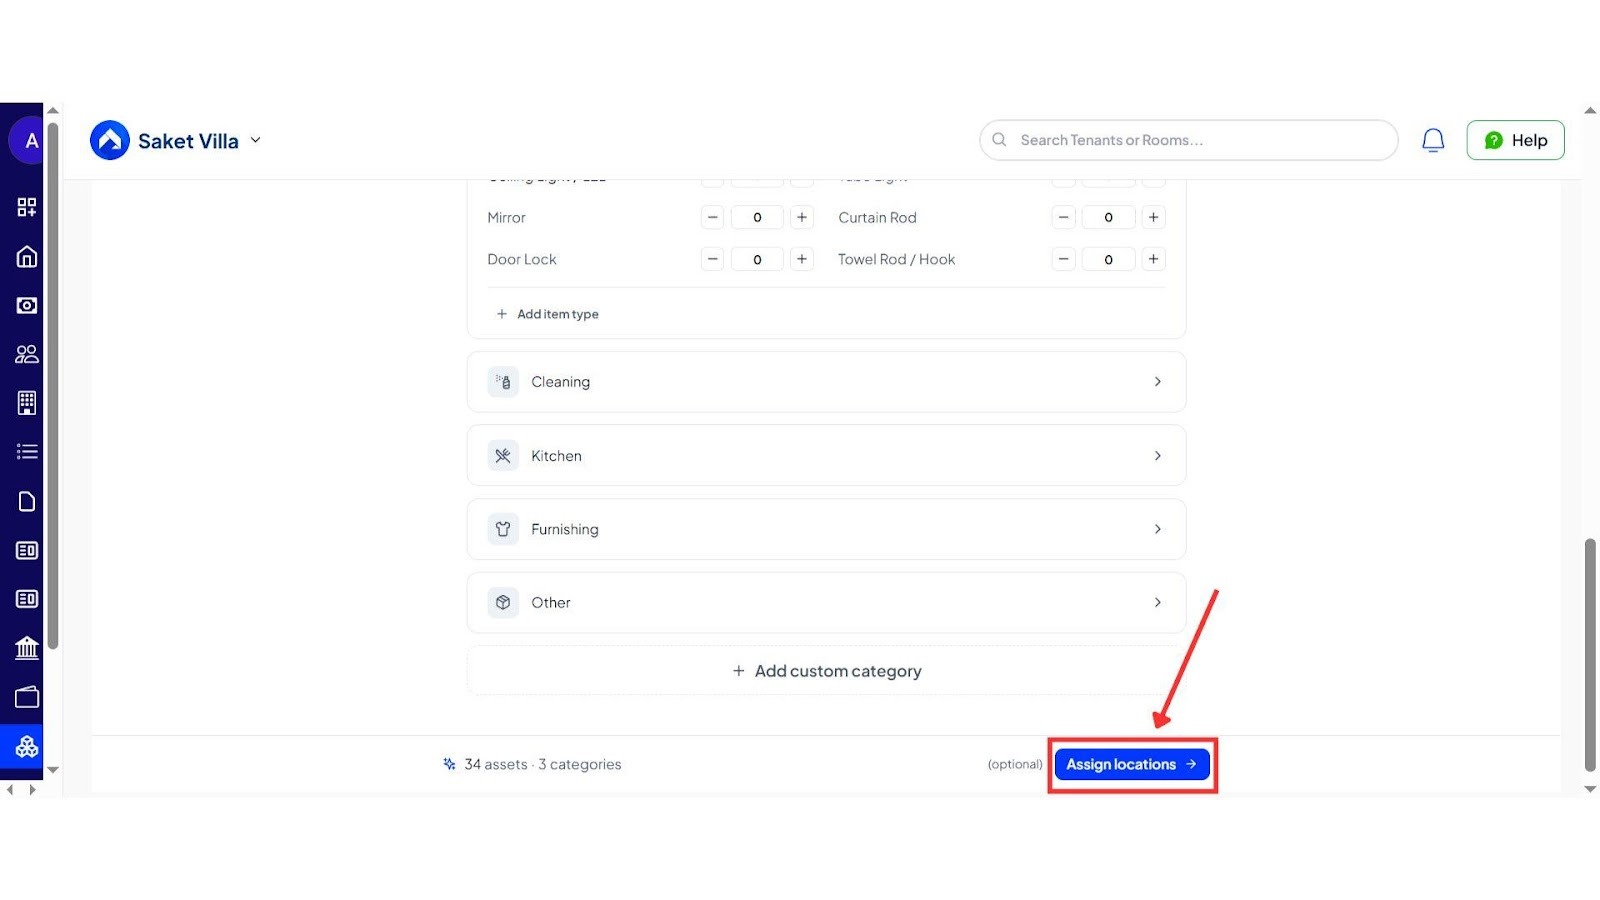
Here, you can assign assets to specific rooms. If you want to do this later, you can also select Skip Assign Later.-55bf5252a6d3373d0d8688a801825d7e.jpeg)
Step 7: Preview Your Inventory
Once assignments are done, click on Preview to review your complete inventory list.
-1861a80f34bb309e075ffee81daa7eb3.jpeg)
Step 8: Review and Create Assets
On the review screen, go through all the items and details carefully. If everything looks correct, click on Create Assets to complete the setup. You can also go back and make changes if needed.
-d407bd4c5d939a830496cf846239d2f8.jpeg)
-e8c7490eef59b922160e4de2bc80f2dc.jpeg)
Step 9: Inventory Ready
Once done, your inventory list will be created and ready to use.
-ee8aa372e4463bbf8058427994732f80.jpeg)
💡 Why it matters: This creates a central inventory for your property and is the foundation for our Move-in/Move-out checklists, helping you prevent disputes over damages and losses.
Advanced Utility Billing - Manage Meters & Split Costs with Precision
This powerful new module introduces a structured way to manage utility meters for complex scenarios and generate accurate, automated bills.
See what’s new →
Highlights
- Flexible Meter Setup: Create meters at the Property (for lifts), Room (for geysers), or Tenant (for personal ACs) level.
- Multiple Billing Types: Generate bills based on Unit Consumption or a flat Amount.
- Smart Bill Splitting: Split common utility costs with high precision: Day-wise (for mid-month move-ins), Equally, or Custom.
- Handle Mid-Month Move-Outs: Use the "Half-Save" feature to record a final reading for a departing tenant without generating a due, ensuring accurate billing at the end of the cycle.
How to try ?
Step 1: Log in to the Web App
Open the web version of the app and enter your login credentials. Once logged in, you will land on the homepage.
Step 2: Go to the Meters Section
From the homepage, click on Property and then select Meters from the available options. This will open the meters page.
-315a8ae3556d0b282f13735ec15b956f.jpeg)
Step 3: Add a New Meter Category
On the Meters page, click on Add Meter Category to start creating a new setup.
-3c95db942a47f0a6a2b83fd21c670358.jpeg)
Step 4: Enter Package Details
Add a package name and select the category from options like electricity, laundry, AC, utility, or bills. After filling in the details, click Next.-624424c4e78f928c2aaa7b8a4fd8d19d.jpeg)
-23758e01f394190e14bf842b7a575f13.jpeg)
-5d6b41b8a17287db4d5d55f5d1a84aab.jpeg)
Step 5: Set Meter Type and Billing
- Choose how you want to apply the meter for the
- Property
- Room
- Tenant-285e19ad6e64a3e86e12f2f3c3b62d1d.jpeg)
Then select whether the reading will be
- Amount-based
- Rate-based
-1c7c2fd5d979be9961c1455a14e347b1.jpeg)
Step 6: Configure Pricing Details
Enter the rate per unit as per your requirement. If needed, you can also enable the minimum bill amount option and set a fixed minimum charge.
-e9f74681fdd89b64f4636f87e2353444.jpeg)
Step 7: Add Additional Details
The billing frequency will remain manual and if you want to include any extra information, you can add it in the description section.
-811ca578b55d7352b500c4ef28b3c08a.jpeg)
-25632489838a2ec500e9022672c03e67.jpeg)
Step 8: Save the Meter Category
After reviewing all the details, click on Save Changes to complete the setup. Your meter category will be added successfully.
-a67e755a46b91aa69d69161b881dd334.jpeg)
-cdec4be493bc00a3266b3e75a6f1d71b.jpeg)
💡 Why it matters: This system automates complex billing calculations, ensures fair and transparent charges for tenants, and eliminates the manual effort required to handle real-world utility management scenarios.
✨ Fixes & Polish
- Redesigned Tenant & Room Screens (Web): The web interface for managing Tenants and Rooms has been made better. It’s faster, cleaner, and features a new Quick View drawer for at-a-glance details without leaving the page.
- Accurate Room History: The system now correctly maintains a tenant's movement history between different rooms, ensuring an accurate timeline is always available.
- New Landing Page for RentOk University: We revamped our landing page for our learning platform to better showcase its features.
- Improved Web Booking Flow: The booking approval process on the web now matches the detailed, multi-step flow of the mobile app.
👀 Coming Up Next
- Maintenance History and Cost of Ownership tracking within the Asset Management module.
- Further enhancements to the Entry/Exit Gate Pass System.
Thank You !
Have doubts or any feedback? Chat with us in-app (Help → send us a message). We’re building for you, and every suggestion counts.