March 26th, 2026
Hello everyone,
We're excited to announce our latest product update, packed with features designed to empower property managers, enhance operational efficiency, and provide greater flexibility. This release focuses on breaking down limitations, giving you more control over your data, and introducing powerful new tools for your team.
Here’s a detailed breakdown of what’s new:
Broker Access
To streamline collaboration with your sales partners, we are introducing a dedicated Broker role within the Manager App. This allows you to grant brokers real-time inventory access without compromising sensitive data.
Key Permissions & Capabilities:
- Real-Time Inventory View: Brokers can view all rooms and their real-time occupancy status (Vacant, Occupied, Booked).
- "Under Notice" Visibility: Crucially, brokers can see which beds are "Under Notice" and the exact date they will become vacant, allowing them to plan ahead.
- Secure & Private: While brokers see that a bed is occupied, they cannot see the personal details of the existing tenant.
- Lead Management: Brokers can add, edit, and manage their own leads. They will only have access to the leads they have personally added.
- Focused Financials: In the Money section, brokers can only view dues and collections for the tenants they have personally brought in. They cannot add dues or record manual payments.
- Convert Leads to Bookings: Brokers can directly convert a qualified lead into a booking for a vacant room.
How To Try:
- Step 1: Go to the Tenants Section
Log in to the app and open the Tenants section from the main menu. From there, click on Team to view your existing team members.
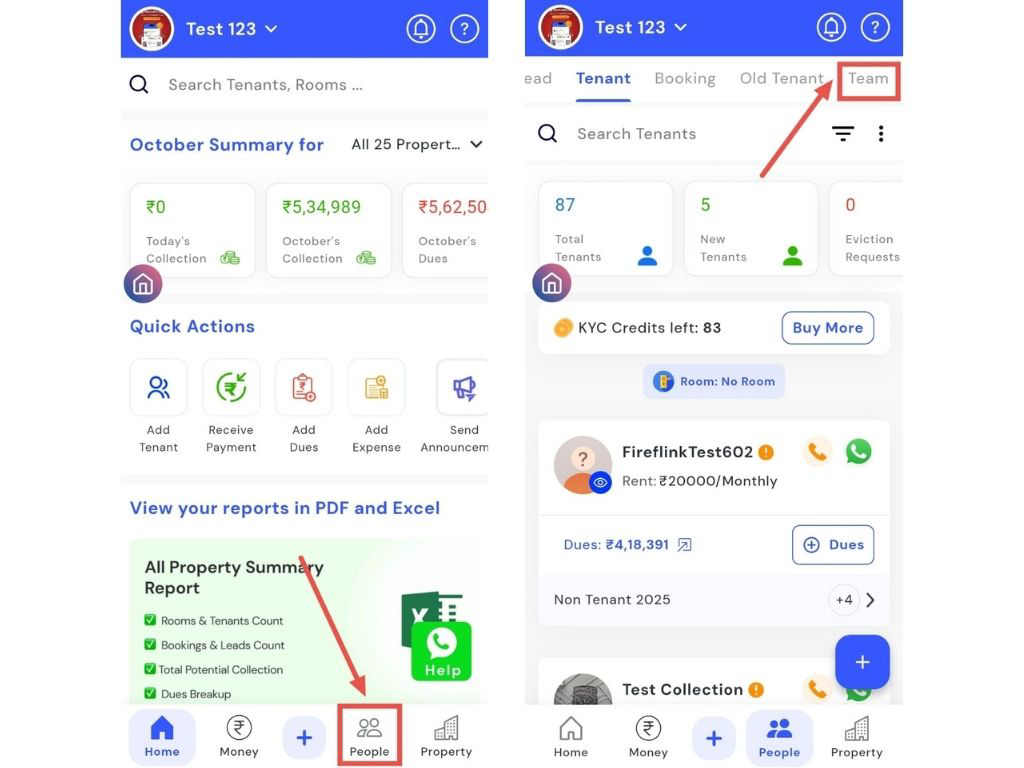
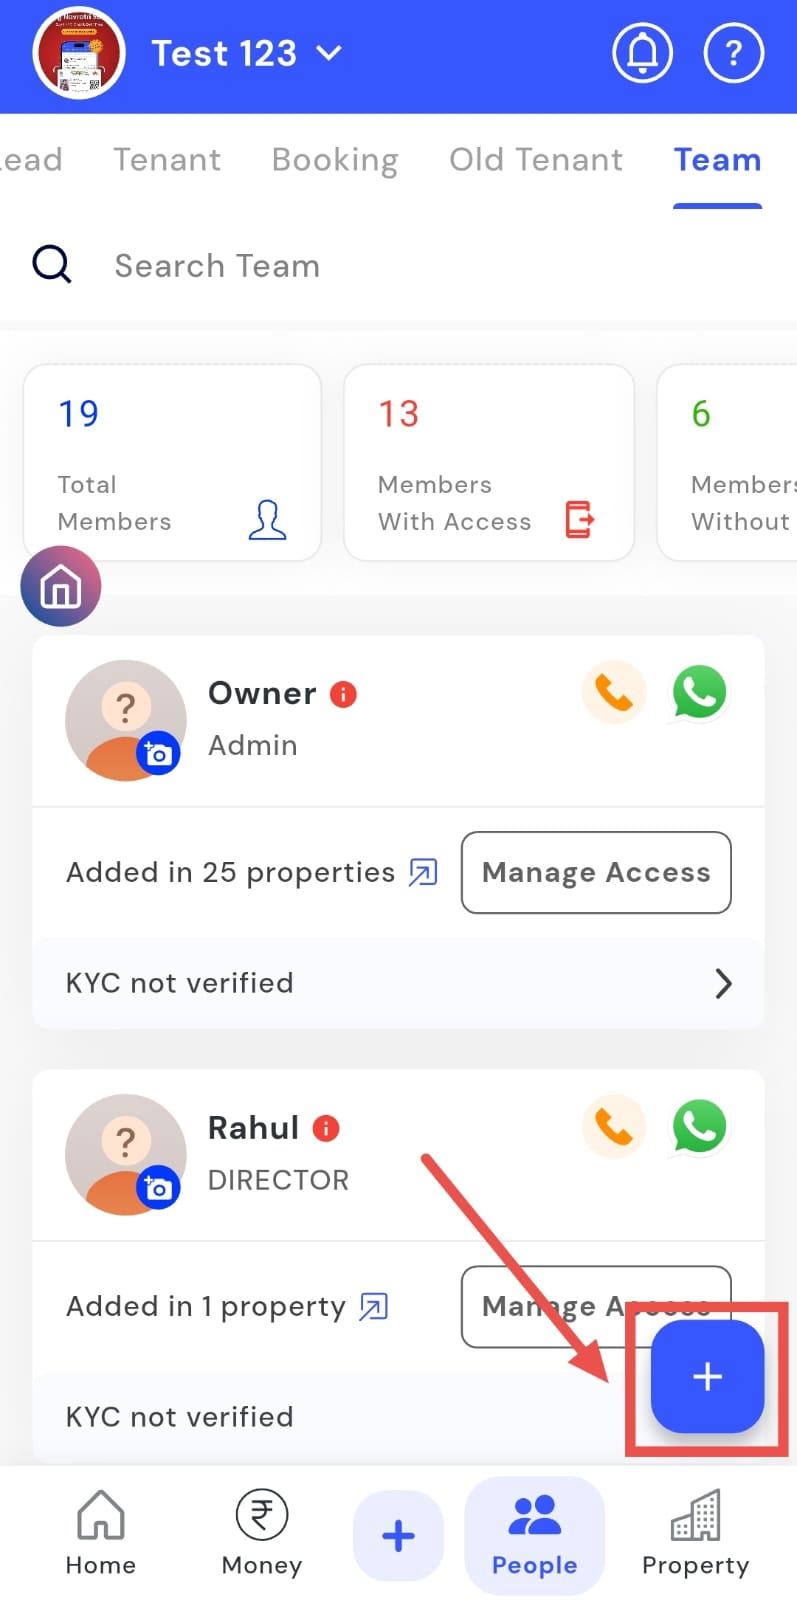
- Step 2: Add a New Team Member
On the Team screen, click on the Plus (+) icon. This will open the form to add a new team member.
- Step 3: Enter Personal Details
Fill in the required details such as Name, Phone Number, and Salary. Make sure the information is correct before moving to the next step.
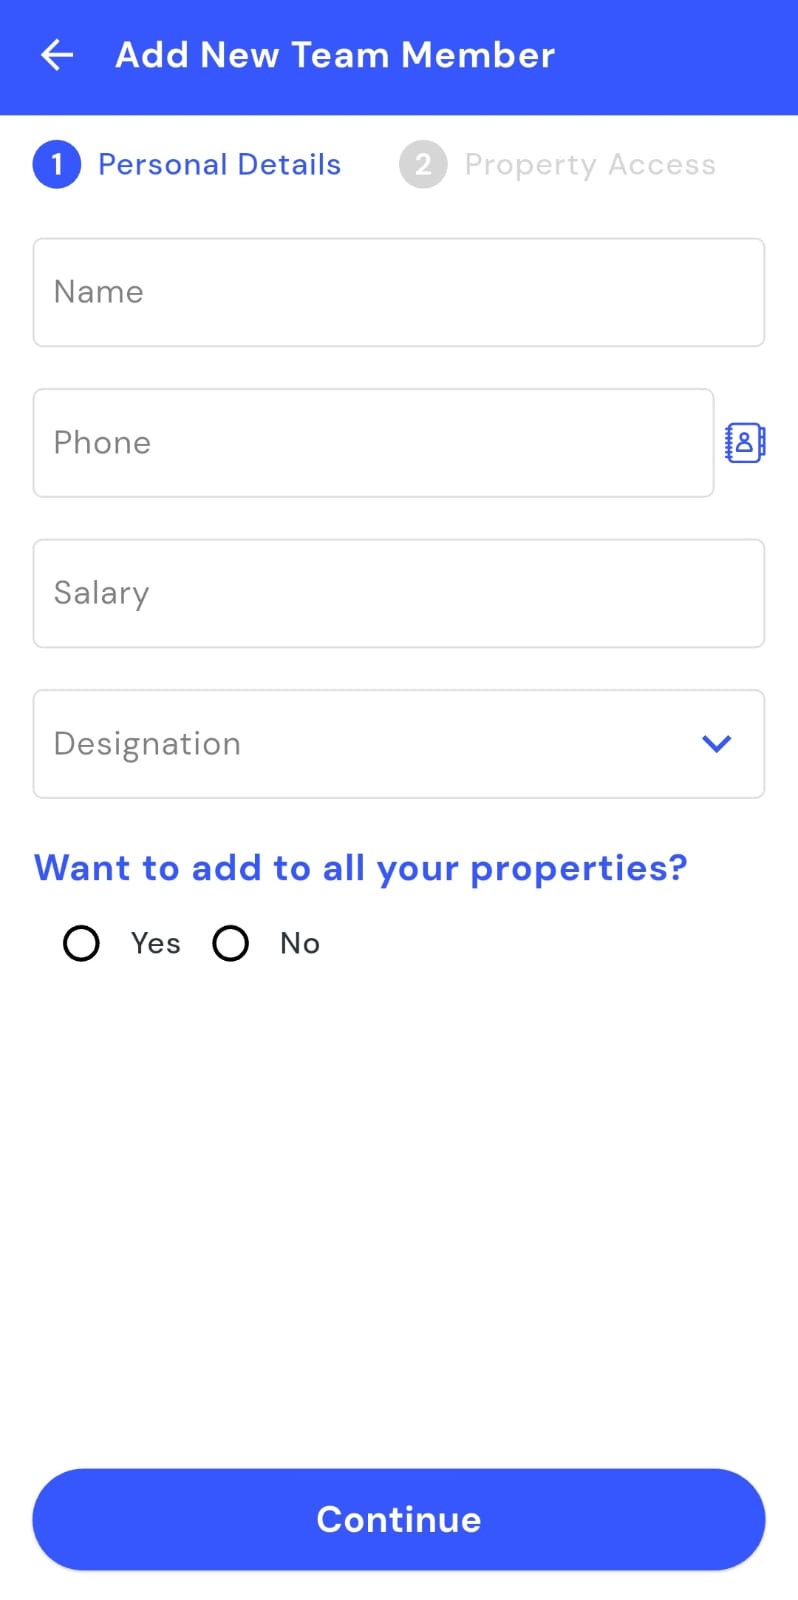
- Step 4: Select Broker as Designation
In the Designation field, you will see different role options. Select Broker from the list and then click Done to continue.
- Step 5: Choose Property Access
Next, select whether you want to give the broker access to all properties or only specific ones.
- Step 6: Assign Specific Properties
If you choose selected properties, go to Property Access and select the properties the broker should have access to.
- Step 7: Save the Details
After reviewing all the information, save the details. The broker will now be added and will have access to the assigned properties.
Important Process Change:- Mandatory Booking Approval: For enhanced security and control, any booking created by a user with the "Broker" role will automatically enter an approval queue. A manager or admin must approve the booking before it is confirmed, even if your property's default setting is auto-approval for staff.
All-Properties View
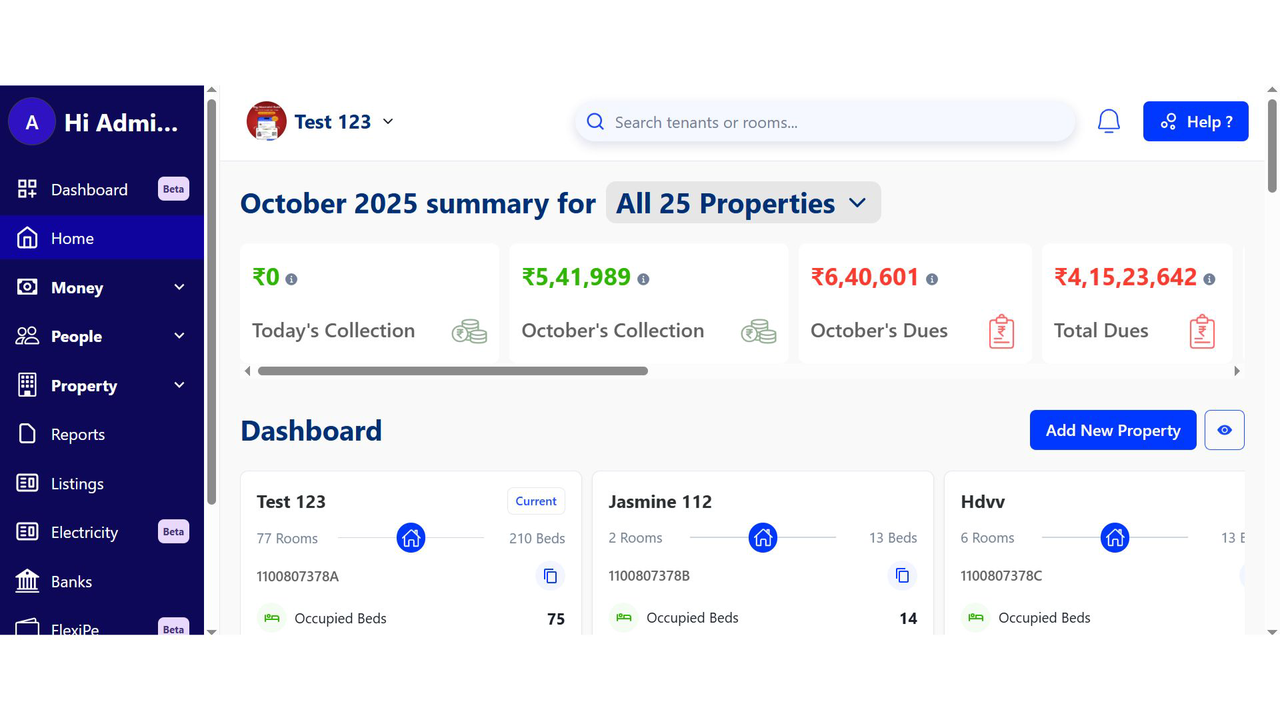
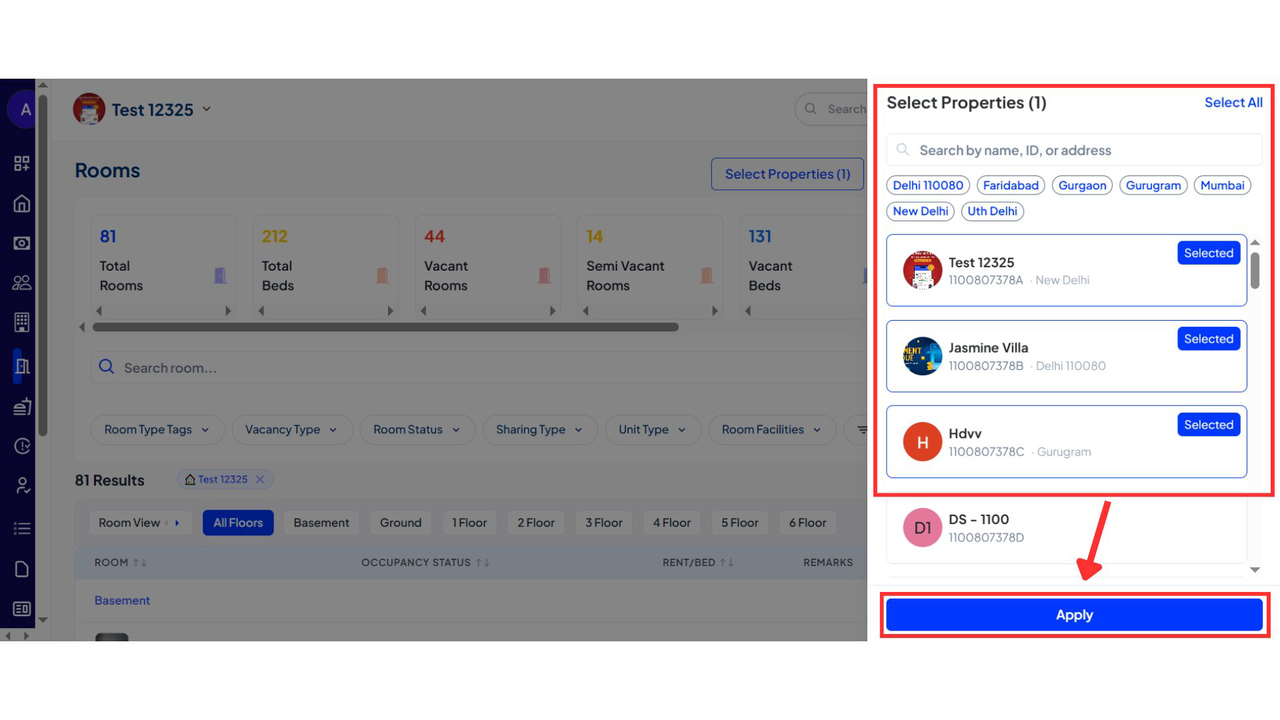
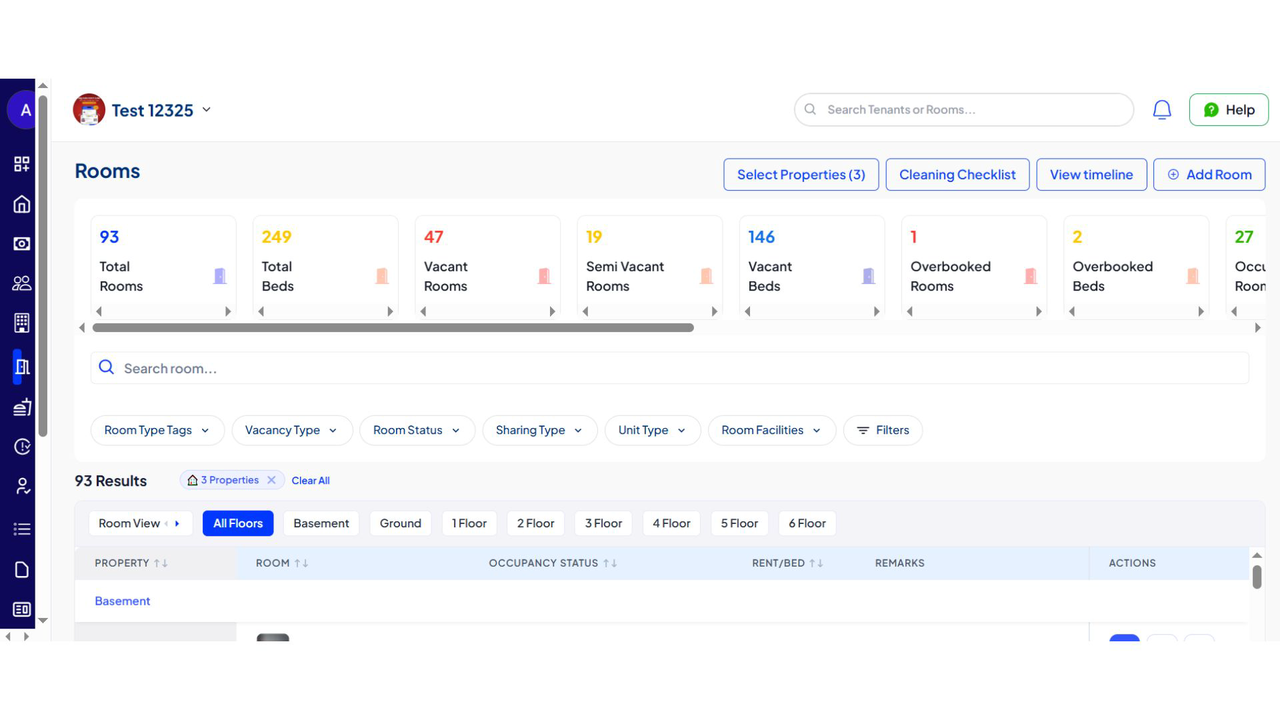
One of our biggest platform limitations is now a thing of the past! We are launching the All-Properties View, giving you a consolidated look across your entire portfolio.
Key Features:
- Performance First: We have heavily optimized our backend to ensure that even when viewing data from dozens of properties, all lists and filters load at lightning speed.
- Unified Dashboard: In the property selection menu, you can now select multiple properties or all of them- to view their combined data on a single screen.
- Filter by Location: Easily select properties based on the city they are in.
- Initial Rollout on "Rooms" and "Complaints":
- Rooms: Get a complete overview of all vacant, occupied, and under-notice beds across your entire portfolio.
- Complaints: See and manage all tenant complaints from multiple properties in one centralized list.
How To Try:
- Step 1: Log in to the web version
Open the web version of the app and enter your credentials to log in.
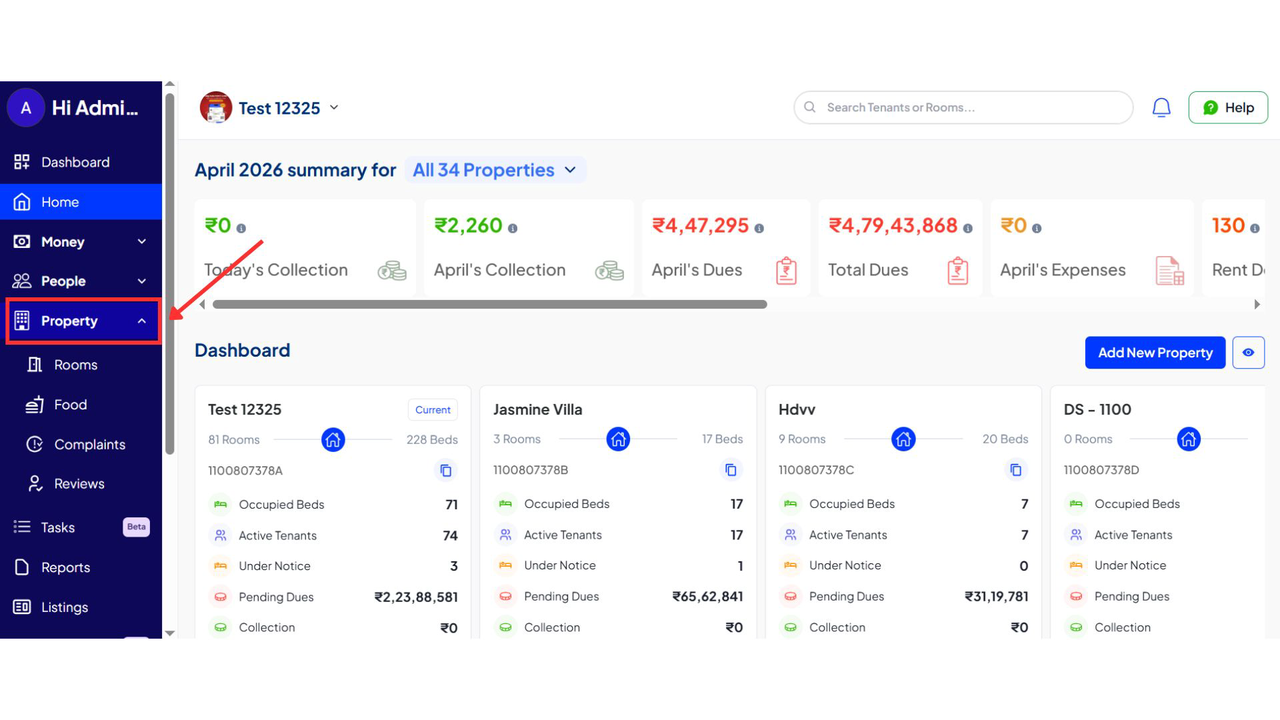
- Step 2: Open the Property Section
From the dashboard, go to the Property section. Here, you can access different modules like Rooms or Complaints.
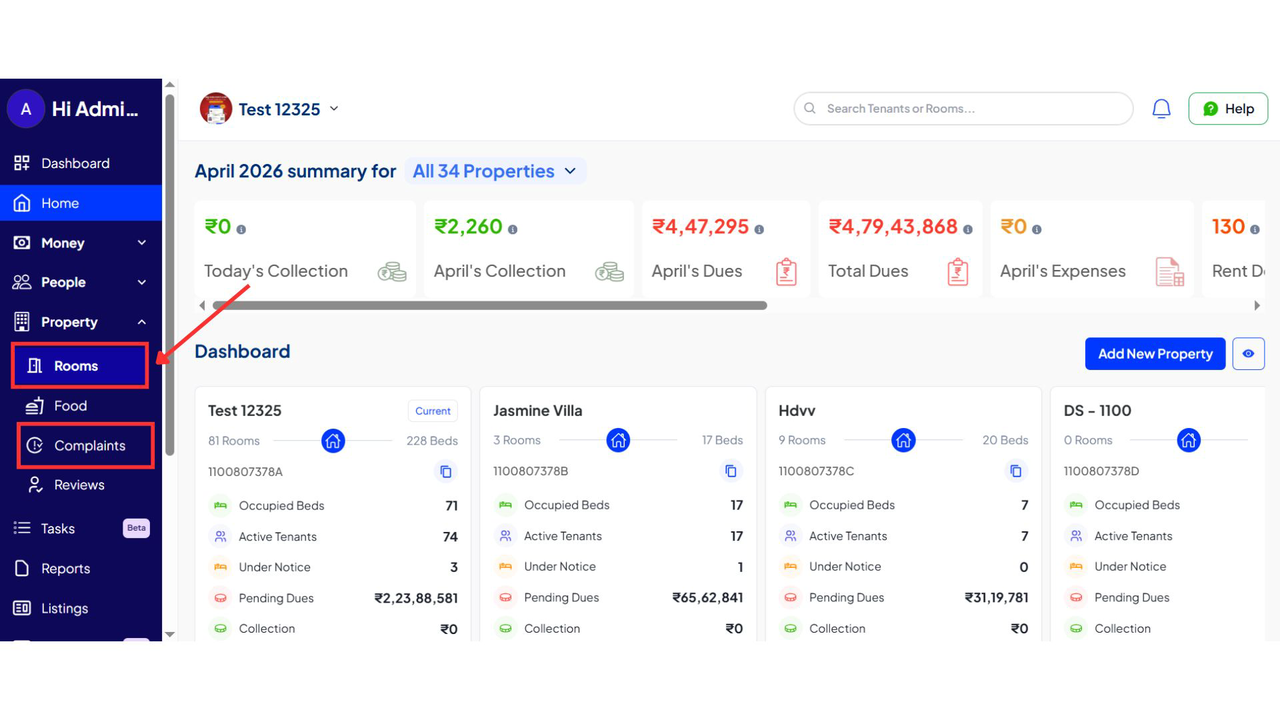
- Step 3: Go to the Required Module
Select the section you want to view, such as Rooms or Complaints.
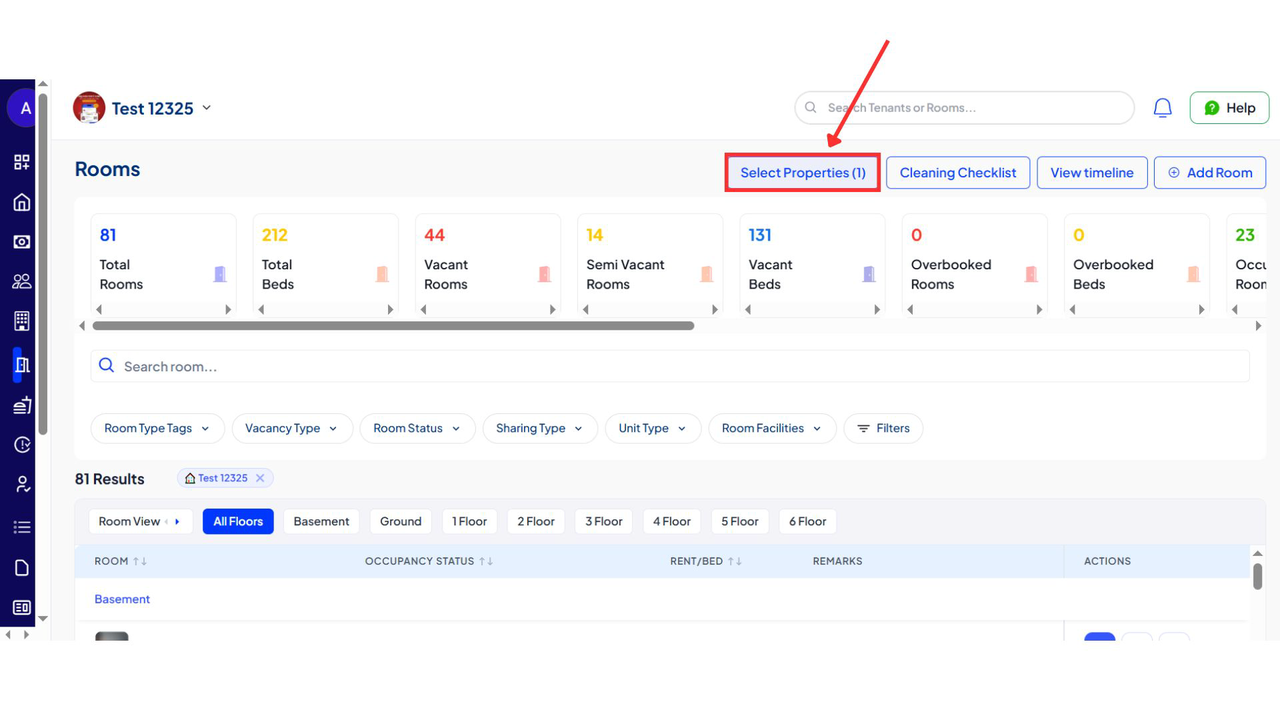
- Step 4: Select Property View
Click on Select Property. You will see the option to choose one or multiple properties.
- Step 5: View All or Selected Properties
Choose the properties you want to view. You can either select all properties for a combined view or choose specific ones based on your requirement.
- Step 6: Get the Combined View
Once selected, the system will display a collective view of data across the selected properties. You can now manage rooms, complaints, or reviews from one place.
What's Next for All-Properties View:
- This functionality will be progressively rolled out to Dues, Collections, Expenses, and Tenants.
- We will be adding more granular location filters, such as by District and Pin Code.
- We are exploring ways to let you easily download or share a unique link to a specific filtered view with your team members.
Improvements & Updates ✅
1. Old Tenant Login Enabled
- Tenants who have moved out ("Old Tenants") can now log in to the tenant app using their phone number. They can view their past property details, make payments for any outstanding dues, and receive receipts.
2. Auto-Pay Enhancements
- Flexible Debit Dates: Tenants setting up Auto-Pay can now choose their preferred debit date within a grace period set by the manager.
- Manager-Defined Grace Period: In the property settings, you can now set an "Auto-Pay Grace Period" (e.g., 7 days). This defines the window during which tenants can schedule their payment.
-4685f73251b950f21b71fc3bbb5eb5c6.jpg)
- Improved Visibility: The "Dues" screen in the manager app will now clearly show a remark indicating that a payment is scheduled via Auto-Pay and on what date.
Features Coming Soon 🚀
These features are in the final stages of testing and will be released soon:
- Advanced Electricity Meter Management: We're putting the final touches on our integrated electricity meter feature, which is currently in beta with a select group of users.
- Automated Autopay Reminders:
To prevent payment failures, we will soon be sending automated reminders to tenants 24-48 hours before their scheduled debit date, advising them to maintain sufficient balance in their account.

- AI-Powered Inventory Insights: Get ready to ask questions in plain English and get instant answers! Soon, you'll be able to search your inventory with queries like, "Show me vacant beds with AC under ₹15,000" and get a filtered list instantly.
- Streamlined Entry-Exit System: A more robust and user-friendly system for both the Tenant and Manager apps is on its way.
Thank you!
Have doubts or any feedback? Chat with us in-app (Help → send us a message). We’re building for you, and every suggestion counts.